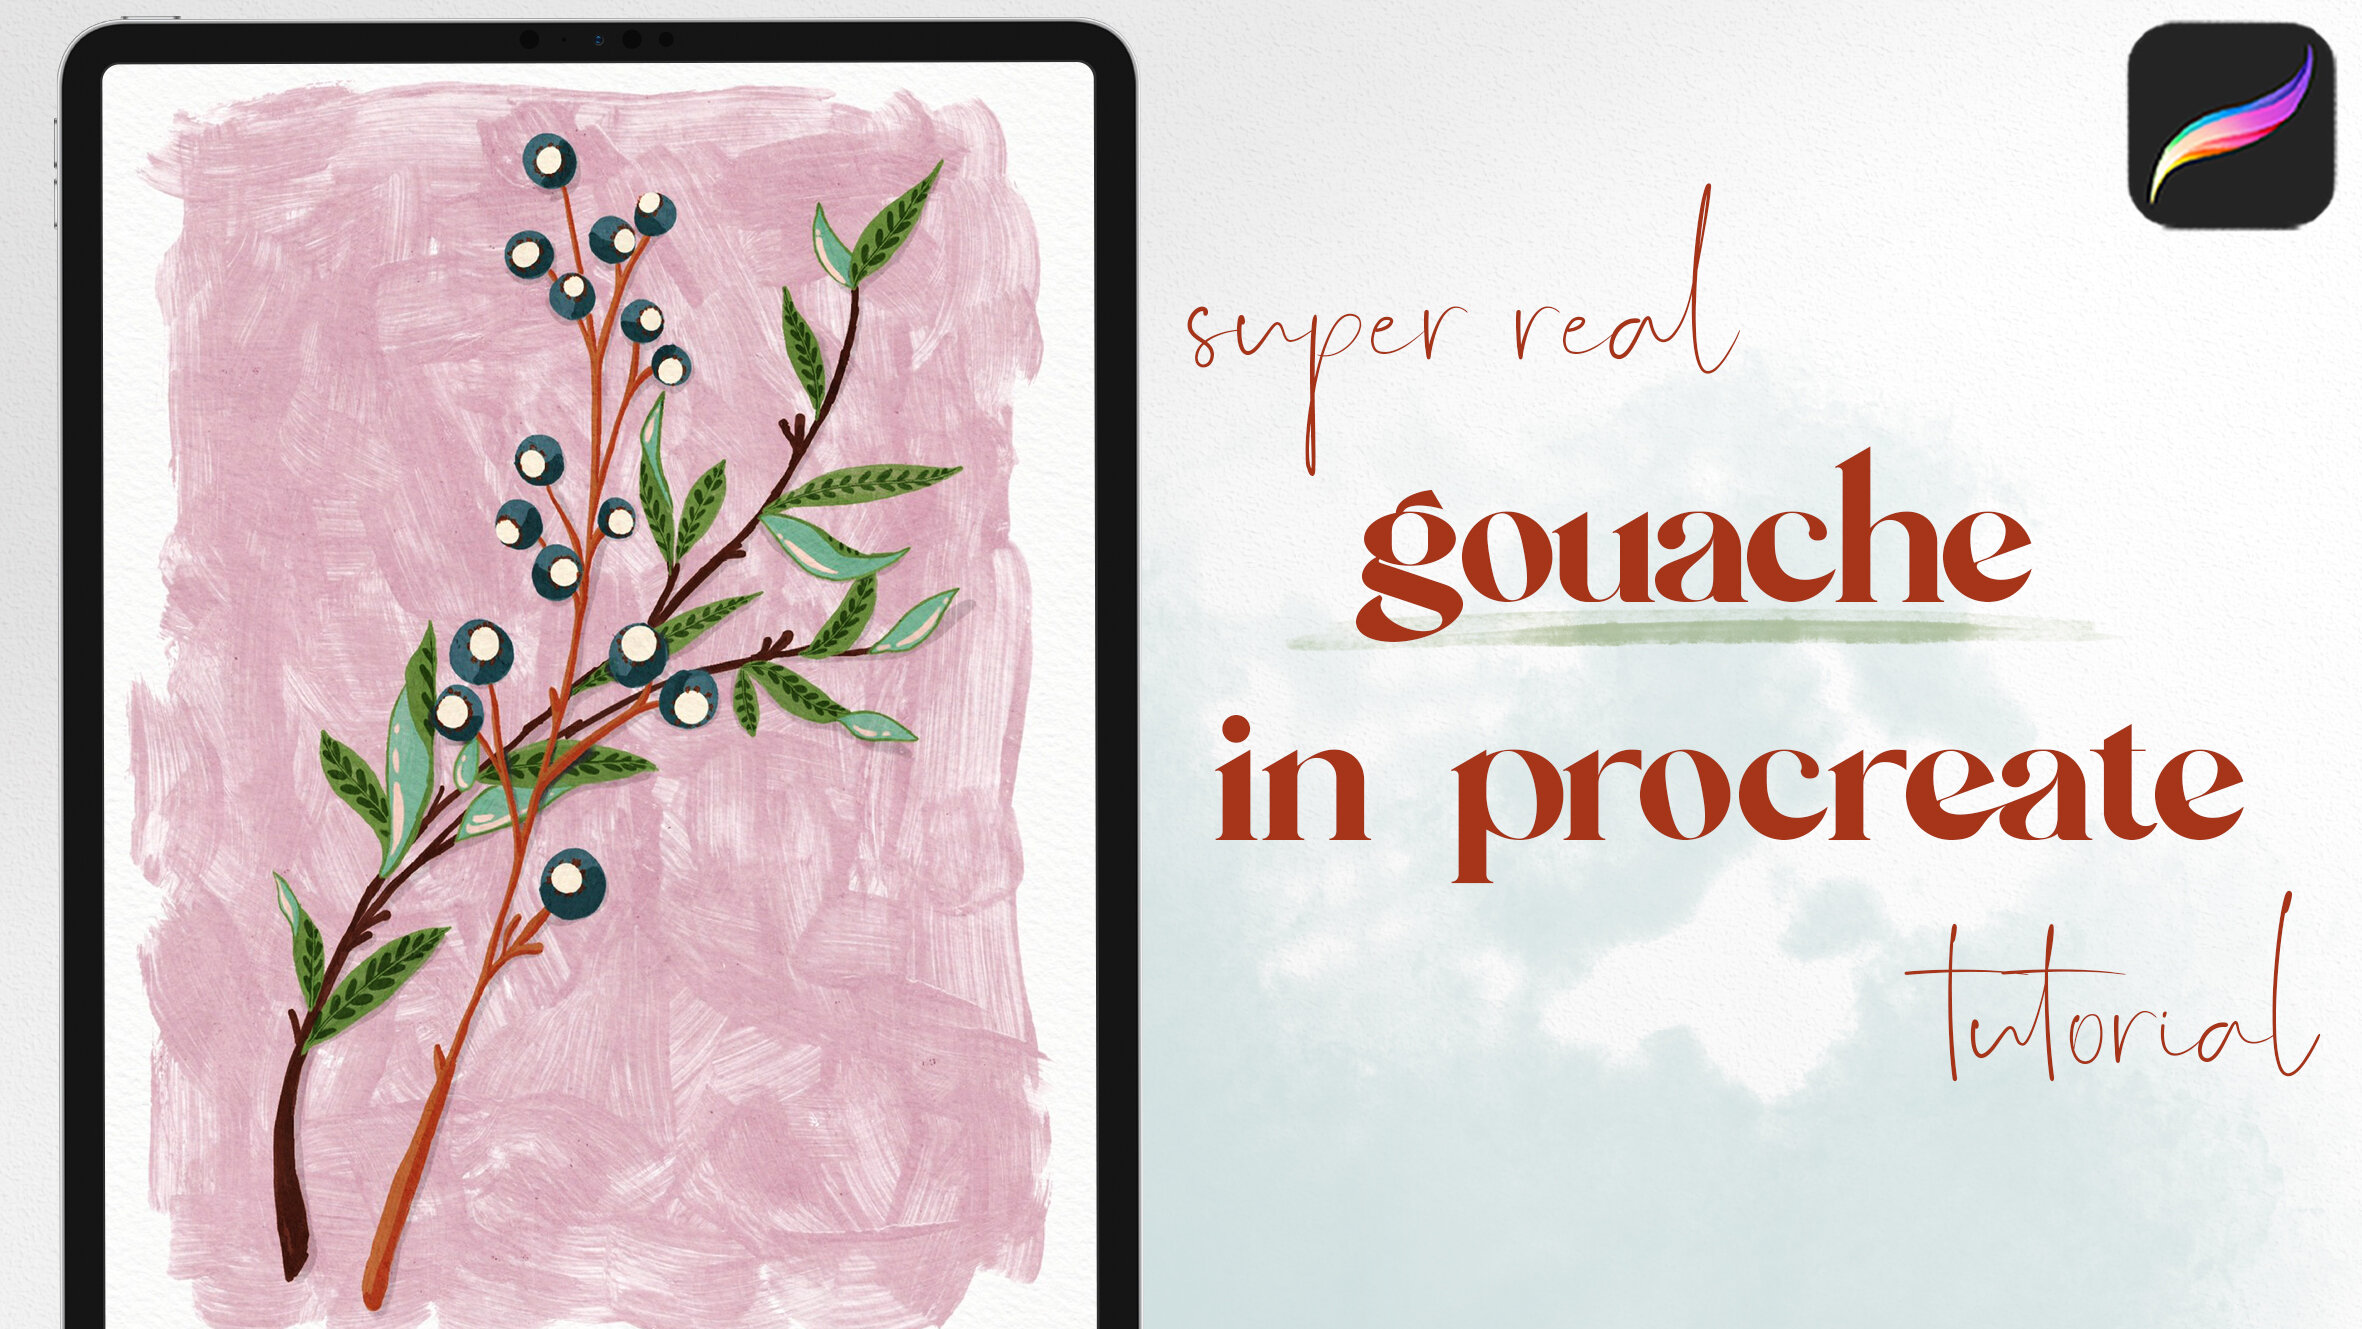
Paint Realistic Gouache Botanical in Procreate
Brushes
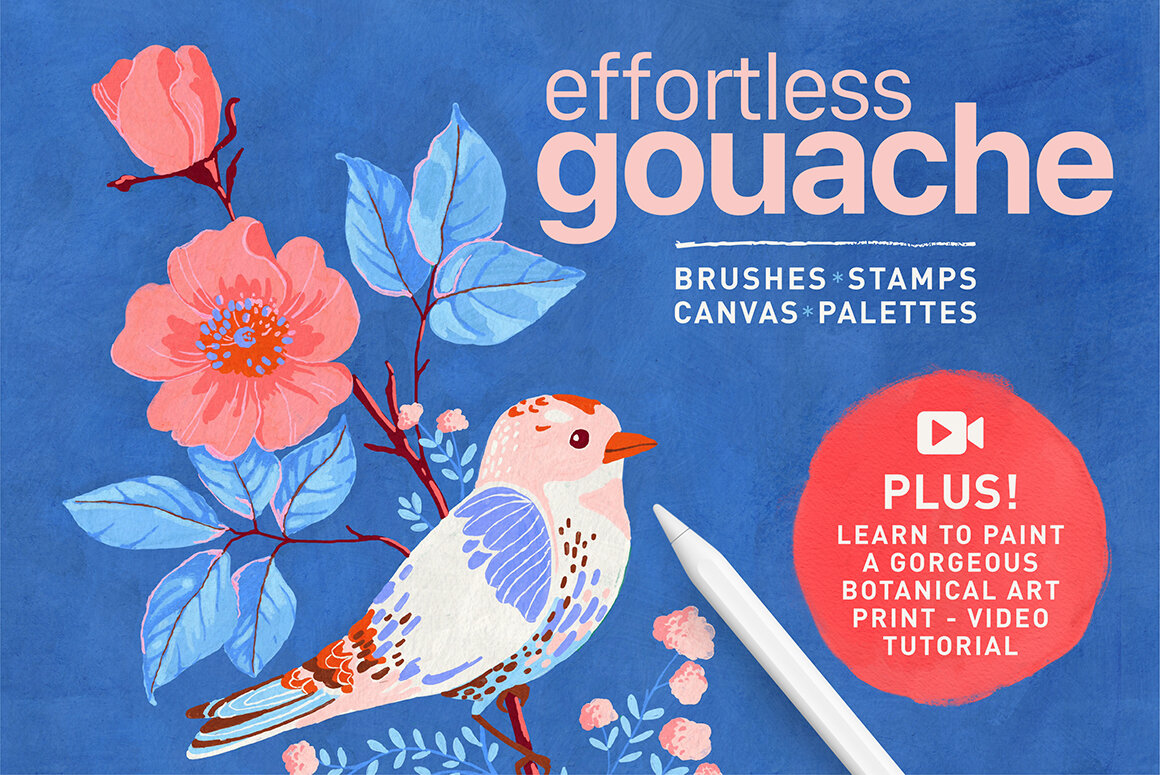
In this video, I’m using Lisa Glanz’s Effortless Gouache set. You can follow along with any brushes you like, but if you’re looking for rich, thick paint textures, this set has you covered :)
Check out the set and learn more here (affiliate link):
palette
The color palette this tutorial uses is the May 2021 palette, which is available for free for my newsletter subscribers. You can become one (and access all kinds of other goodies!) by signing up here:
canvas and Layers Set Up:
Canvas used: Large, Textured (paper texture comes with brush set)
Initial layer set up:
Paper Texture Group
- Sketch
- Berries
- Berries Branch
- Leaves Detail (multiply)
- Leaves Branch
- Shadow
- Background Texture

Sketch
Layer: Sketch
Brush: 6B pencil (Default Procreate Brush)
Roughly sketch two branches in, and then sketch the leaves and berries.
This will help to figure out the composition and make decisions in advance.
Transform/rotate/scale as necessary!
Reduce layer opacity to 35-50%.
Painting the Stem
Layer: Leaves - Branch
Brush: Round Smooth Semi Wet
Using relaxed brush strokes and light pressure, paint in the first stem with a medium brown
Make the bottom of the stem wider, tapering at the top. Add offshoots.


Section: Painting the Leaves
Layer: Leaves - Branch (though you can move to a new layer if you prefer!)
Brush: Round Smooth Wet
Alternate between two greens to draw the leaves. One represents the top side of the leaf, the other the underside.
Tap and hold on the circle of color in the upper right corner to switch back and forth between the two colors
Using a pressure sensitive brush means you can rely on the changing size of the brush to help you create each leaf shape, tapered at the ends and wider in the middle.
If you want to use the flat brushes, or the textured ones, you may just need to adjust the brush size as you paint, and use more strokes to create the shape you want.
Layer the leaves on top of each other, using the two colors to help differentiate in the denser areas
Once the leaves are painted, choose one of the two greens to designate as the primary green. Use this color to carefully outline the secondary green leaves.
Brush: Messy Semi Wet
Now move up to the next layer (Leaves Detail, set to multiply)
Brush: Messy Semi Wet
Using the primary green, set to a smaller size, paint the midrib of the leaves only on the primary green portions
Follow the midrib line for any leaves that are twisted or folded

Paint these stylized, rounded veins along the midrib of each leaf. Then, switching to the eraser on the Round Smooth Wet brush, reduce the brush size and erase a thin line down the center of each midrib.
Then, merge these two leaf layers together. The merged layer will adopt the lower layer blend mode, which is Normal.

Brush: Round Smooth Semi Wet
Select a soft pink - or other light color - to use as the highlight
On the secondary green of the leaves, paint small, abstract highlights
Berry Branch
Layer: Berries Branch
Brush: Round Smooth Semi Wet
With a different color from the other stem, paint in the stem for the berries branch

Then, still on the same layer, switch to a darker color to paint a shadow along the stem. Reduce brush size for this - try to stay within the bounds of the branch
(Brush: Round Smooth Wet)

Berries
Layer: Berries
Brush: Round Smooth Semi Wet
With a medium blue, paint the berries using small circular motions. If you want, you can layer the brush strokes to increase the opacity
Select a darker shade of the berry color, remaining on the same layer.
Brush: Round Smooth Wet
Use this brush to dollop on a semi circle of color on each berry.
Painting on the same layer helps achieve the edge definition from the layered paint.


Brush: Round Smooth
Select a light, contrasting color next
Still on this same layer, add a smaller circle on top of each berry
This brush is the most opaque that we’ve used so far, which works great for adding a lighter color on top of dark.
Now, still on the berry layer, select one of the branch colors - it can be from either branch.
Brush: Gloopy Transparent Linework
Along the inner circle of each berry, use this brush (set on a super small size) to add small, messy little marks - kind of like the crown on a blueberry
This brush has a Multiply attribute which will make this a bit darker


Shadow
Layer: Shadow (Multiply)
Brush: Messy Semi Wet
Reduce Layer Opacity (30-35%)
Select a grey color to use
Use this to add a subtle shadow below the plants
In this example, my light source is coming from the upper left. This is pretty subtle, so adjust the layer opacity to reduce or increase the effect.
Once the shadow is drawn, move back up to the Leaves Branch layer.
With the same brush and color, reduce the brush opacity down to around 10%. Then, use this to add a slight shadow on this lower branch at any of the places the upper branch is overlapping it.


Background
Layer: Background Texture
Brush: Stamp Streaky
Select a background color and increase the brush size. Stamp once.
You may need to undo and try a few times to get the size right - the goal is to not have the edges cut off by the canvas, thereby keeping the organic edge texture
Position the stamp behind the botanicals
Reduce layer opacity if desired

And that’s it, you’re finished with your lovely botanical painting!

I’m seriously loving the richness and depth of these brushes - they are so versatile! Click through below to see the full details on this set:
start painting now, or pin this project for later!

Get FREE Procreate Palettes in Your Inbox:

JOIN THE newsletter fam:
When you join, you'll gain access to dozens of Procreate freebies: brushes, paper textures, workbooks, and my entire library of color palettes. I send out updates each week with my best tips and tricks, and you'll be the first to hear when new freebies are released!