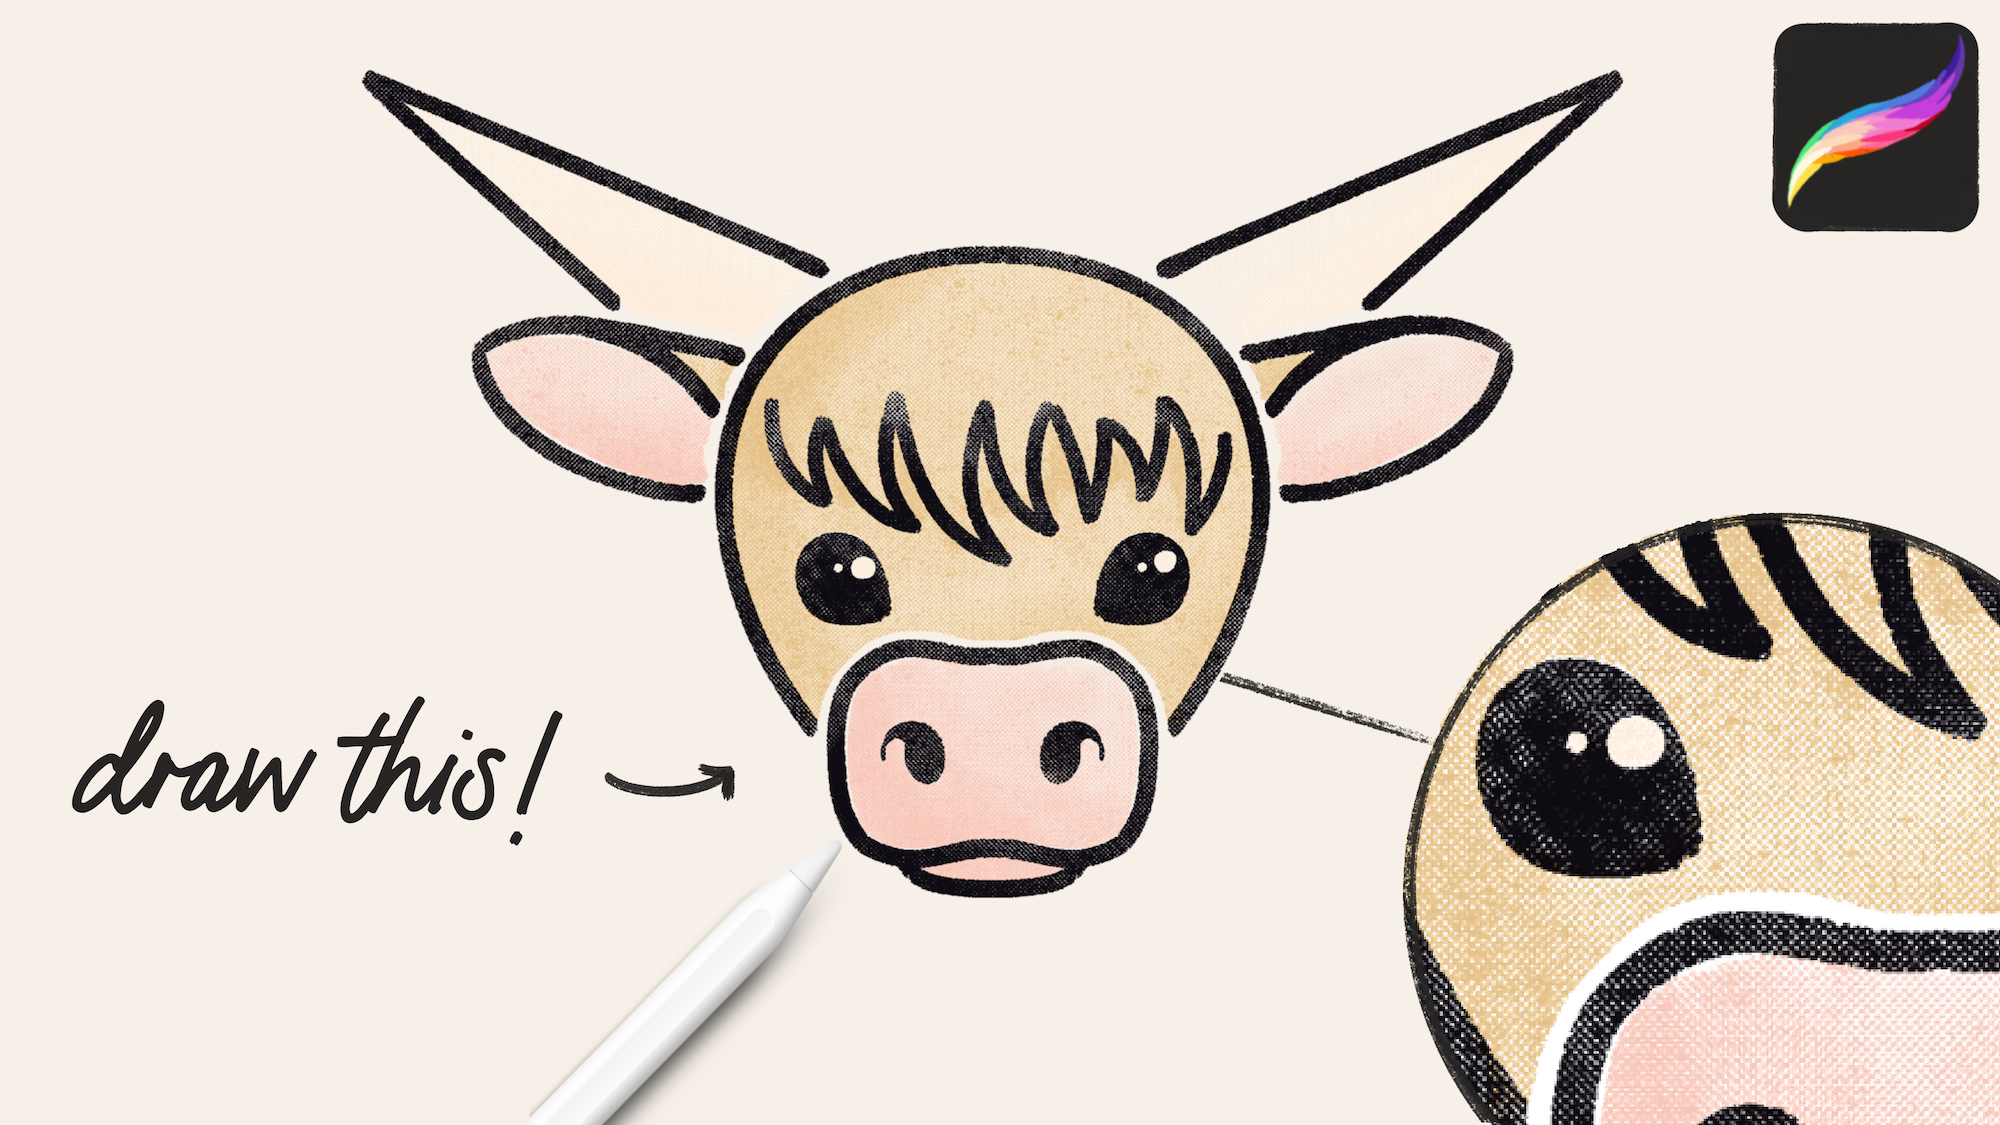
Create a Sketchbook in Procreate with Flippable Pages
In this tutorial, I'm covering two different ways to create a multi-page sketchbook or notebook in Procreate, using Page Assist and Animation Assist. I'll show you how to keep your paper textures in both options, and walk through the advantages and disadvantages of each - when you might prefer one over the other, and what the tradeoffs are.
Neither tool is 1000% perfect for this purpose, but you can most likely create a digital sketchbook setup that you are happy with and can use to store all your beautiful ideas, whether it's to support a daily sketch practice, or to plot your ideas, or even to create a digital scrapbook! Watch the video or read on for the step-by-step instructions!
Brushes
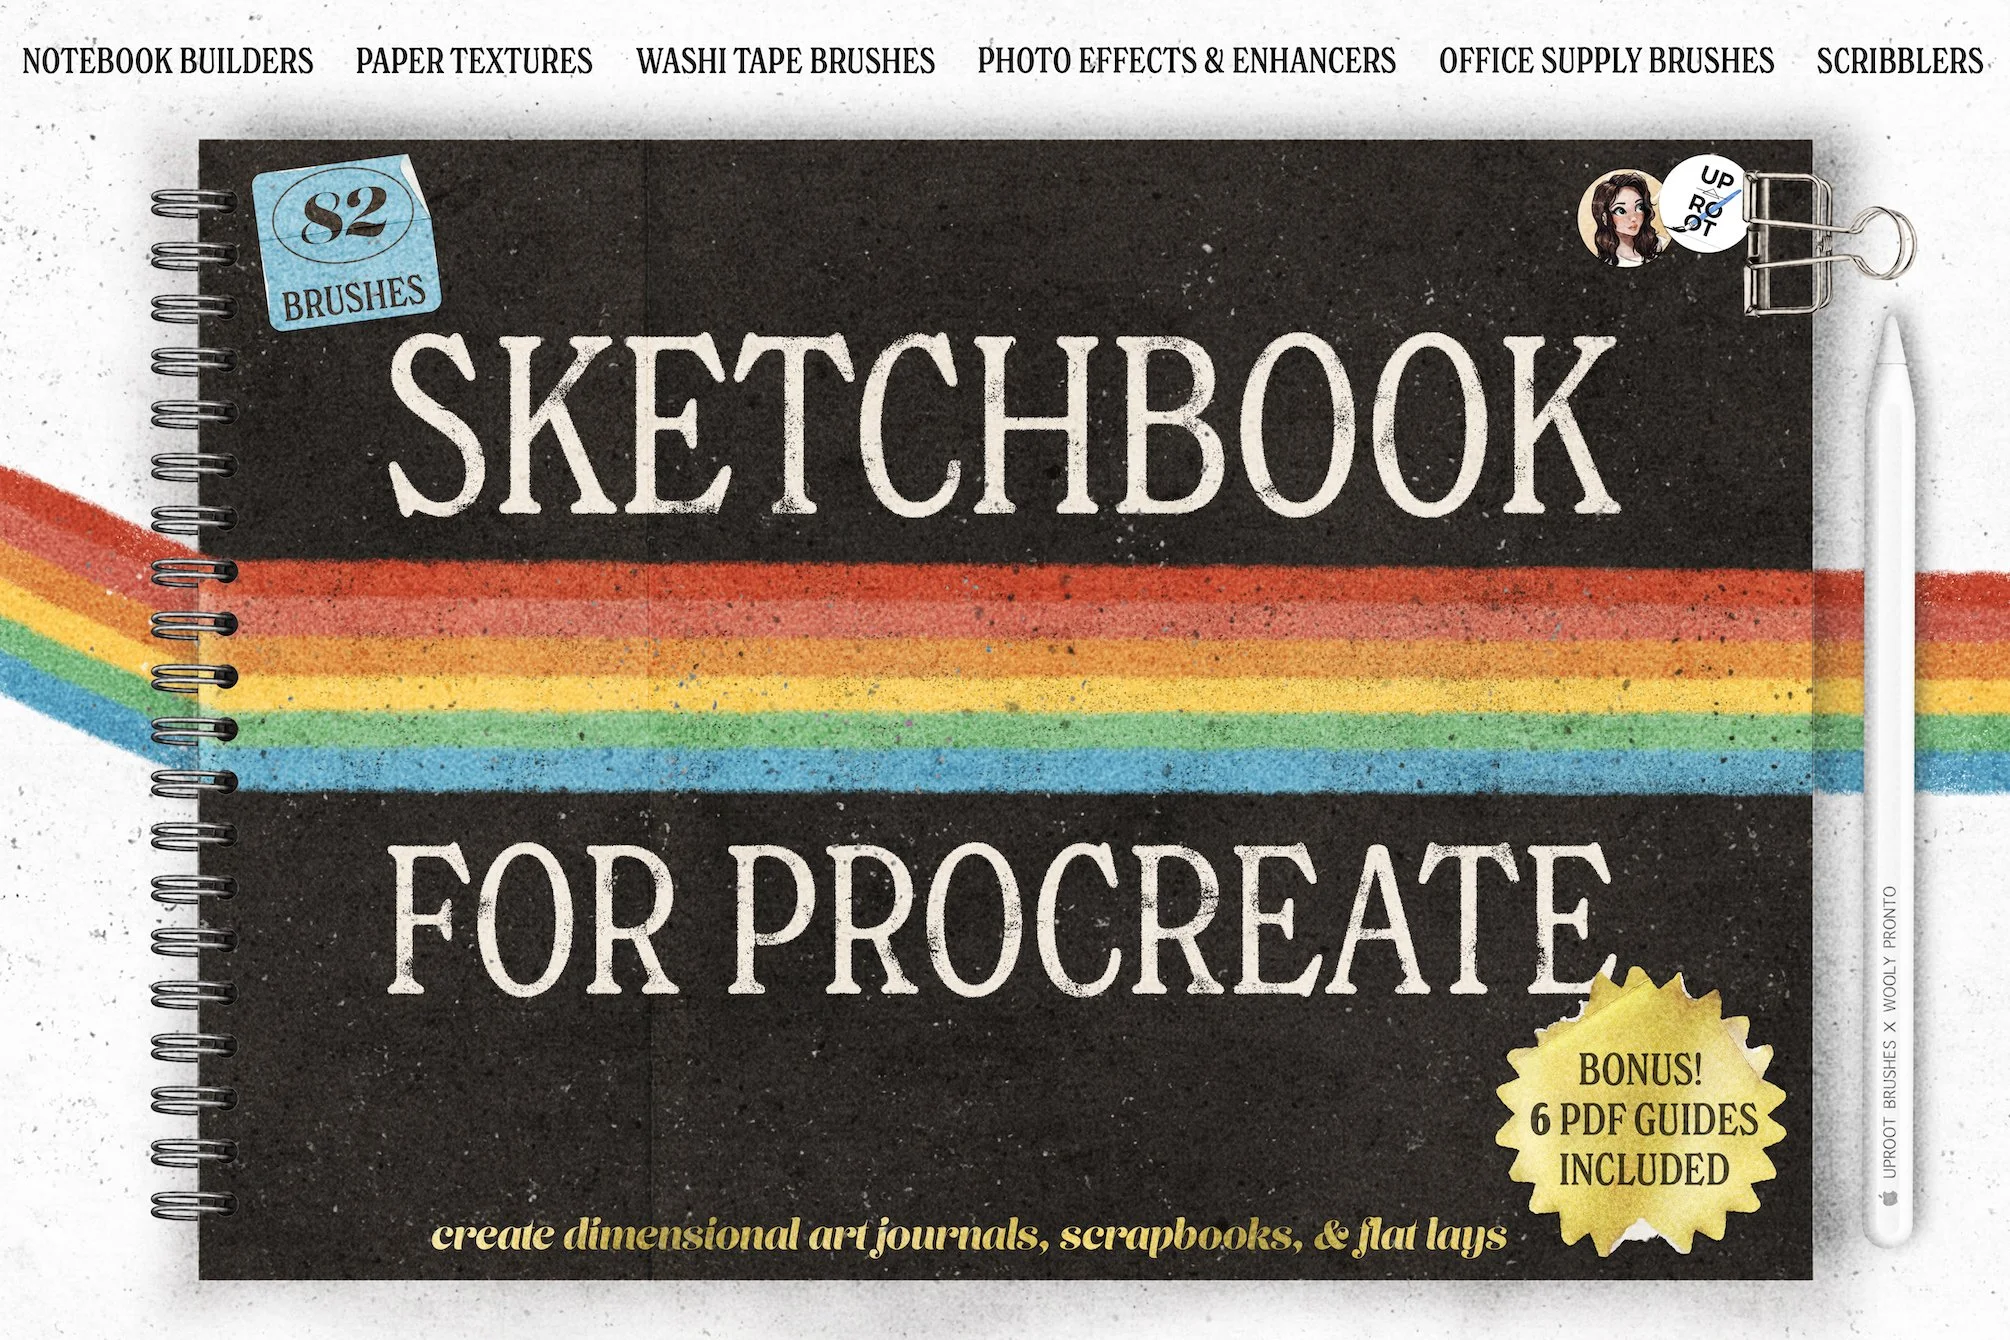
Introducing a collaborative set from Uproot Brushes & Wooly Pronto: Sketchbook for Procreate. Take your art from screen to page with this versatile toolkit! Transform your iPad into a sketchbook, journal, or scrapbook - or simply create beautiful page layouts to level up your social posts.
Everything you need to create dynamic, dimensional sketchbooks, scrapbooks, and art journals, entirely on your iPad!
So, what’s inside?
Paper Texture Brushes: 17 Textures (34 brushes in total)
Washi Tape Brushes: 21 different Washi patterns, with options for a torn or a zigzag edge (42 washi tape brushes in total)
Notebook Builders: 12 brushes for creating spiral bound sketchbooks entirely in Procreate
Scribblers: 4 Scribbling/Sketching brushes
Office Supplies: 16 Office supply brushes including Binder Clips, Post-it Notes and Pens
Photo Effects Kit: 12 Brushes for turning any image into a Polaroid picture
6 PDF tutorials
1 Procreate Reference File
The Sketchbook set includes ‘Notebook Builders’: spiral binding brushes, page brushes, and shadow brushes - everything you need to create a realistic journal spread with just a few swipes of the Apple Pencil. The fully dimensional binding brushes utilize Uproot Brushes’ innovative technique for built-in shadows and highlights, and can be used with any color to create totally unique, customizable journals. You can also create a spread to use over and over again as a base template with Procreate’s Page Assist feature, effectively turning your iPad into a multi-page sketchbook. (If you’re unfamiliar, rest assured: we’ve included a tutorial on this, too!)
Once you’ve built the journal, embellish and customize with the ‘Office Supply’ brushes: from binder clips to post-it notes, stickers, tags, paperclips, and more. Just as with the binding, these can be used with the color of your choosing and are fully opaque - meaning you can layer them over journal pages without any fuss.
Sketch and scrawl away with the 4 essential ‘Scribbler’ brushes: two variations of Abbie’s Ballpoint Pen, a soft pencil, and a felt tip marker.
We’ve also included 12 ‘Photo Effects’ brushes - aka the Polaroid Kit - ranging from light leaks and lens flares, to overlays and texturizers, and even a Polaroid-style frame to give your photos a nostalgic aesthetic. Many of the photo effects brushes have suggested blend modes in the titles, so you’ll always know how to get the best results with them.
The Paper Textures set is a fantastic variety of perfectly seamless texture brushes. Choose from the 17 different textures to instantly add realism, depth, and interest to your pages. Because these are brushes with seamless texture repeats, you can use them in any canvas size. They’re super handy to use with any project, allowing you to add ultra-real texture with just a few brushstrokes. Each texture consists of two brushes, each with built in shadows and highlights, for a total of 34 brushes.
The Washi Tape brushset includes beautifully crafted, lightly textured tape brushes. Pick from 21 different patterns of washi tape, with each pattern including two edge finish options: scalloped, tape-dispenser edges, or randomized, torn edges. Because these are brushes, not stamps, you can customize the width and length - and yes, the color, too! With the two edge-finish options for each tape pattern, this set has a total of 42 brushes.
For this project, I’m demonstrating with a basic sketchbook layout, made with Sketchbook for Procreate.
This has everything you need to turn your iPad into a sketchbook - spiral bindings, paper textures, washi tape, clips, stickers, and more!
Introducing a collaborative set from Uproot Brushes & Wooly Pronto: Sketchbook for Procreate. Take your art from screen to page with this versatile toolkit! Transform your iPad into a sketchbook, journal, or scrapbook - or simply create beautiful page layouts to level up your social posts.
Everything you need to create dynamic, dimensional sketchbooks, scrapbooks, and art journals, entirely on your iPad!
So, what’s inside?
Paper Texture Brushes: 17 Textures (34 brushes in total)
Washi Tape Brushes: 21 different Washi patterns, with options for a torn or a zigzag edge (42 washi tape brushes in total)
Notebook Builders: 12 brushes for creating spiral bound sketchbooks entirely in Procreate
Scribblers: 4 Scribbling/Sketching brushes
Office Supplies: 16 Office supply brushes including Binder Clips, Post-it Notes and Pens
Photo Effects Kit: 12 Brushes for turning any image into a Polaroid picture
6 PDF tutorials
1 Procreate Reference File
The Sketchbook set includes ‘Notebook Builders’: spiral binding brushes, page brushes, and shadow brushes - everything you need to create a realistic journal spread with just a few swipes of the Apple Pencil. The fully dimensional binding brushes utilize Uproot Brushes’ innovative technique for built-in shadows and highlights, and can be used with any color to create totally unique, customizable journals. You can also create a spread to use over and over again as a base template with Procreate’s Page Assist feature, effectively turning your iPad into a multi-page sketchbook. (If you’re unfamiliar, rest assured: we’ve included a tutorial on this, too!)
Once you’ve built the journal, embellish and customize with the ‘Office Supply’ brushes: from binder clips to post-it notes, stickers, tags, paperclips, and more. Just as with the binding, these can be used with the color of your choosing and are fully opaque - meaning you can layer them over journal pages without any fuss.
Sketch and scrawl away with the 4 essential ‘Scribbler’ brushes: two variations of Abbie’s Ballpoint Pen, a soft pencil, and a felt tip marker.
We’ve also included 12 ‘Photo Effects’ brushes - aka the Polaroid Kit - ranging from light leaks and lens flares, to overlays and texturizers, and even a Polaroid-style frame to give your photos a nostalgic aesthetic. Many of the photo effects brushes have suggested blend modes in the titles, so you’ll always know how to get the best results with them.
The Paper Textures set is a fantastic variety of perfectly seamless texture brushes. Choose from the 17 different textures to instantly add realism, depth, and interest to your pages. Because these are brushes with seamless texture repeats, you can use them in any canvas size. They’re super handy to use with any project, allowing you to add ultra-real texture with just a few brushstrokes. Each texture consists of two brushes, each with built in shadows and highlights, for a total of 34 brushes.
The Washi Tape brushset includes beautifully crafted, lightly textured tape brushes. Pick from 21 different patterns of washi tape, with each pattern including two edge finish options: scalloped, tape-dispenser edges, or randomized, torn edges. Because these are brushes, not stamps, you can customize the width and length - and yes, the color, too! With the two edge-finish options for each tape pattern, this set has a total of 42 brushes.
Free Color Palettes
If you sign up for my newsletter, you’ll get access to everything in the Resource Library - dozens of free brushes, canvases, and color palettes! Sign up to get all the goodies:
Page Assist vs Animation Assist
Procreate has two somewhat similar features, called Page Assist and Animation assist. I’m going to show you how to use both of these to achieve a multipage setup, but I especially want to highlight why I actually think Animation Assist is the better option for this.
I’m using a sketchbook layer to demonstrate how to use paper textures on each “page”, and I’ll show you a couple ways to use a multi-page setup with paper textures, for the most realistic notebook setup in Procreate. But first, let’s walk through what these Page Assist and Animation Assist features are!
What is Page Assist?

The Page Assist feature was created to allow you to scroll between multipage documents - like comics or storyboards - and to export as a multi-page PDF. See, with normal Procreate, when you export as a PDF, it will only export a flattened, single page.
Access Page Assist under the wrench, then under Canvas, and then toggle Page Assist on.
Page Assist will now treat each layer or group as a separate page.
By the way! You can download a free sampler of earlier versions of the Sketchbook brushes to follow along with the tutorial by clicking HERE!
When Page Assist is turned on, you’ll see the pages appear on the bottom bar, and you can scroll to quickly move between them. Tapping “new page” will add a new layer.
If you tap on the very first page (which is also the bottommost layer in the layers panel), you’ll have an option to set it as the Background.


Using Paper Textures with Page Assist
For a sketchbook setup in Page Assist, you’ll want to group the entire notebook spread along with any paper textures into a single “base” group. Then you can use each subsequent layer as a page (or group multiple layers together as a single page, depending on your workflow).
However, when drawing on each page, you’ll notice the paper texture doesn’t show, and anything you draw just kind of sits on top of the page. This doesn’t look super realistic - so instead, there are a couple options to make the paper texture carry through to each page.


So instead, one option is to set each layer to Multiply, to allow the paper texture to pass through anything drawn on the layer. You can see the texture here, visible through the brush stroke. This is a slightly more subtle way to use textures, and it also somewhat limits your art - if you are using a different color page in your base group, this won’t work as well.
Alternatively, you can set up each “page” as a group, and pull the paper texture into every group. Make sure the paper texture is not included in your “base” group if you are using this option.
This gives a more realistic paper texture look, and it also gives you more freedom with how you use and manipulate the layers in your art. The downside, though, is that it uses a lot of layers, as you need to copy the paper textures into every singe group for it to show up on each page.

If these options don’t sound like they’ll work for you, don’t worry! We’re going to walk through Animation Assist next, and I’ll be highlighting why I think it’s the best overall option for using Procreate as a functional sketchbook with multiple pages - and makes it easier to use textures!

What is Animation Assist?
Animation Assist is a feature created to allow you to make frame-by-frame animations in Procreate. You can turn it on under the wrench > Canvas > toggle Animation Assist ON.
Because Animation Assist has a different intended function than Page Assist, we’ll need to adjust some settings to use it in the Sketchbook setup.
The bottom bar interface appears similar to Page Assist, but has an additional option to tap “settings”. In the Settings menu, you’ll want to turn the Onion skin frames slider to None. This will turn the transparency of each “page” (or frame, or layer) to fully opaque. While onion skinning is essential for animating, it’s not serving a purpose for us in this sketchbook setup.


Using Paper Textures with Animation Assist
To use paper textures with Animation Assist, we’re going to set up our layer organization with the paper textures grouped at the top, above all the pages, and with the sketchbook layout (without any textures) grouped at the bottom. This will display in the bottom bar as the sketchbook base as the first page, and the paper textures as the last.
In the Animation Assist bar, you can now set the sketchbook layout group as the background, and then tap on the last page - the texture group - to open up Frame Options. You’ll see an option to set this as the Foreground - toggle that to ON.

Now the paper texures (made up of two layers set to Overlay and Linear Burn) will pass through every layer/page in between, and the sketchbook layout will remain as the background. Think of it as a sketchbook sandwich!

With this method, you can achieve the most realistic looking notebook, use fewer layers (so you won’t run into layer limits!), and easily add pages and scroll between them, just as you would in Page Assist. It’s simple and straightforward, and a very easy setup.
Now, one thing to note with Animation Assist is that you can’t export the document as a multi-page PDF like you can with Page Assist. While you can still export each individual page for sharing, you won’t have the functionality of sharing multiple pages in a single document with Animation Assist. By keeping this in mind when planning your sketchbook, you’ll be able to set up your digital sketchbook just the way you want!
And that’s all there is to it! Sketch away, and share your lovely work (and feel free to tag me @woolypronto so I can see)!
Introducing a collaborative set from Uproot Brushes & Wooly Pronto: Sketchbook for Procreate. Take your art from screen to page with this versatile toolkit! Transform your iPad into a sketchbook, journal, or scrapbook - or simply create beautiful page layouts to level up your social posts.
Everything you need to create dynamic, dimensional sketchbooks, scrapbooks, and art journals, entirely on your iPad!
So, what’s inside?
Paper Texture Brushes: 17 Textures (34 brushes in total)
Washi Tape Brushes: 21 different Washi patterns, with options for a torn or a zigzag edge (42 washi tape brushes in total)
Notebook Builders: 12 brushes for creating spiral bound sketchbooks entirely in Procreate
Scribblers: 4 Scribbling/Sketching brushes
Office Supplies: 16 Office supply brushes including Binder Clips, Post-it Notes and Pens
Photo Effects Kit: 12 Brushes for turning any image into a Polaroid picture
6 PDF tutorials
1 Procreate Reference File
The Sketchbook set includes ‘Notebook Builders’: spiral binding brushes, page brushes, and shadow brushes - everything you need to create a realistic journal spread with just a few swipes of the Apple Pencil. The fully dimensional binding brushes utilize Uproot Brushes’ innovative technique for built-in shadows and highlights, and can be used with any color to create totally unique, customizable journals. You can also create a spread to use over and over again as a base template with Procreate’s Page Assist feature, effectively turning your iPad into a multi-page sketchbook. (If you’re unfamiliar, rest assured: we’ve included a tutorial on this, too!)
Once you’ve built the journal, embellish and customize with the ‘Office Supply’ brushes: from binder clips to post-it notes, stickers, tags, paperclips, and more. Just as with the binding, these can be used with the color of your choosing and are fully opaque - meaning you can layer them over journal pages without any fuss.
Sketch and scrawl away with the 4 essential ‘Scribbler’ brushes: two variations of Abbie’s Ballpoint Pen, a soft pencil, and a felt tip marker.
We’ve also included 12 ‘Photo Effects’ brushes - aka the Polaroid Kit - ranging from light leaks and lens flares, to overlays and texturizers, and even a Polaroid-style frame to give your photos a nostalgic aesthetic. Many of the photo effects brushes have suggested blend modes in the titles, so you’ll always know how to get the best results with them.
The Paper Textures set is a fantastic variety of perfectly seamless texture brushes. Choose from the 17 different textures to instantly add realism, depth, and interest to your pages. Because these are brushes with seamless texture repeats, you can use them in any canvas size. They’re super handy to use with any project, allowing you to add ultra-real texture with just a few brushstrokes. Each texture consists of two brushes, each with built in shadows and highlights, for a total of 34 brushes.
The Washi Tape brushset includes beautifully crafted, lightly textured tape brushes. Pick from 21 different patterns of washi tape, with each pattern including two edge finish options: scalloped, tape-dispenser edges, or randomized, torn edges. Because these are brushes, not stamps, you can customize the width and length - and yes, the color, too! With the two edge-finish options for each tape pattern, this set has a total of 42 brushes.
Start sketching now, or pin this project for later!

Get FREE Procreate Palettes in Your Inbox:

JOIN THE newsletter fam:
When you join, you'll gain access to dozens of Procreate freebies: brushes, paper textures, workbooks, and my entire library of color palettes. I send out updates each week with my best tips and tricks, and you'll be the first to hear when new freebies are released!