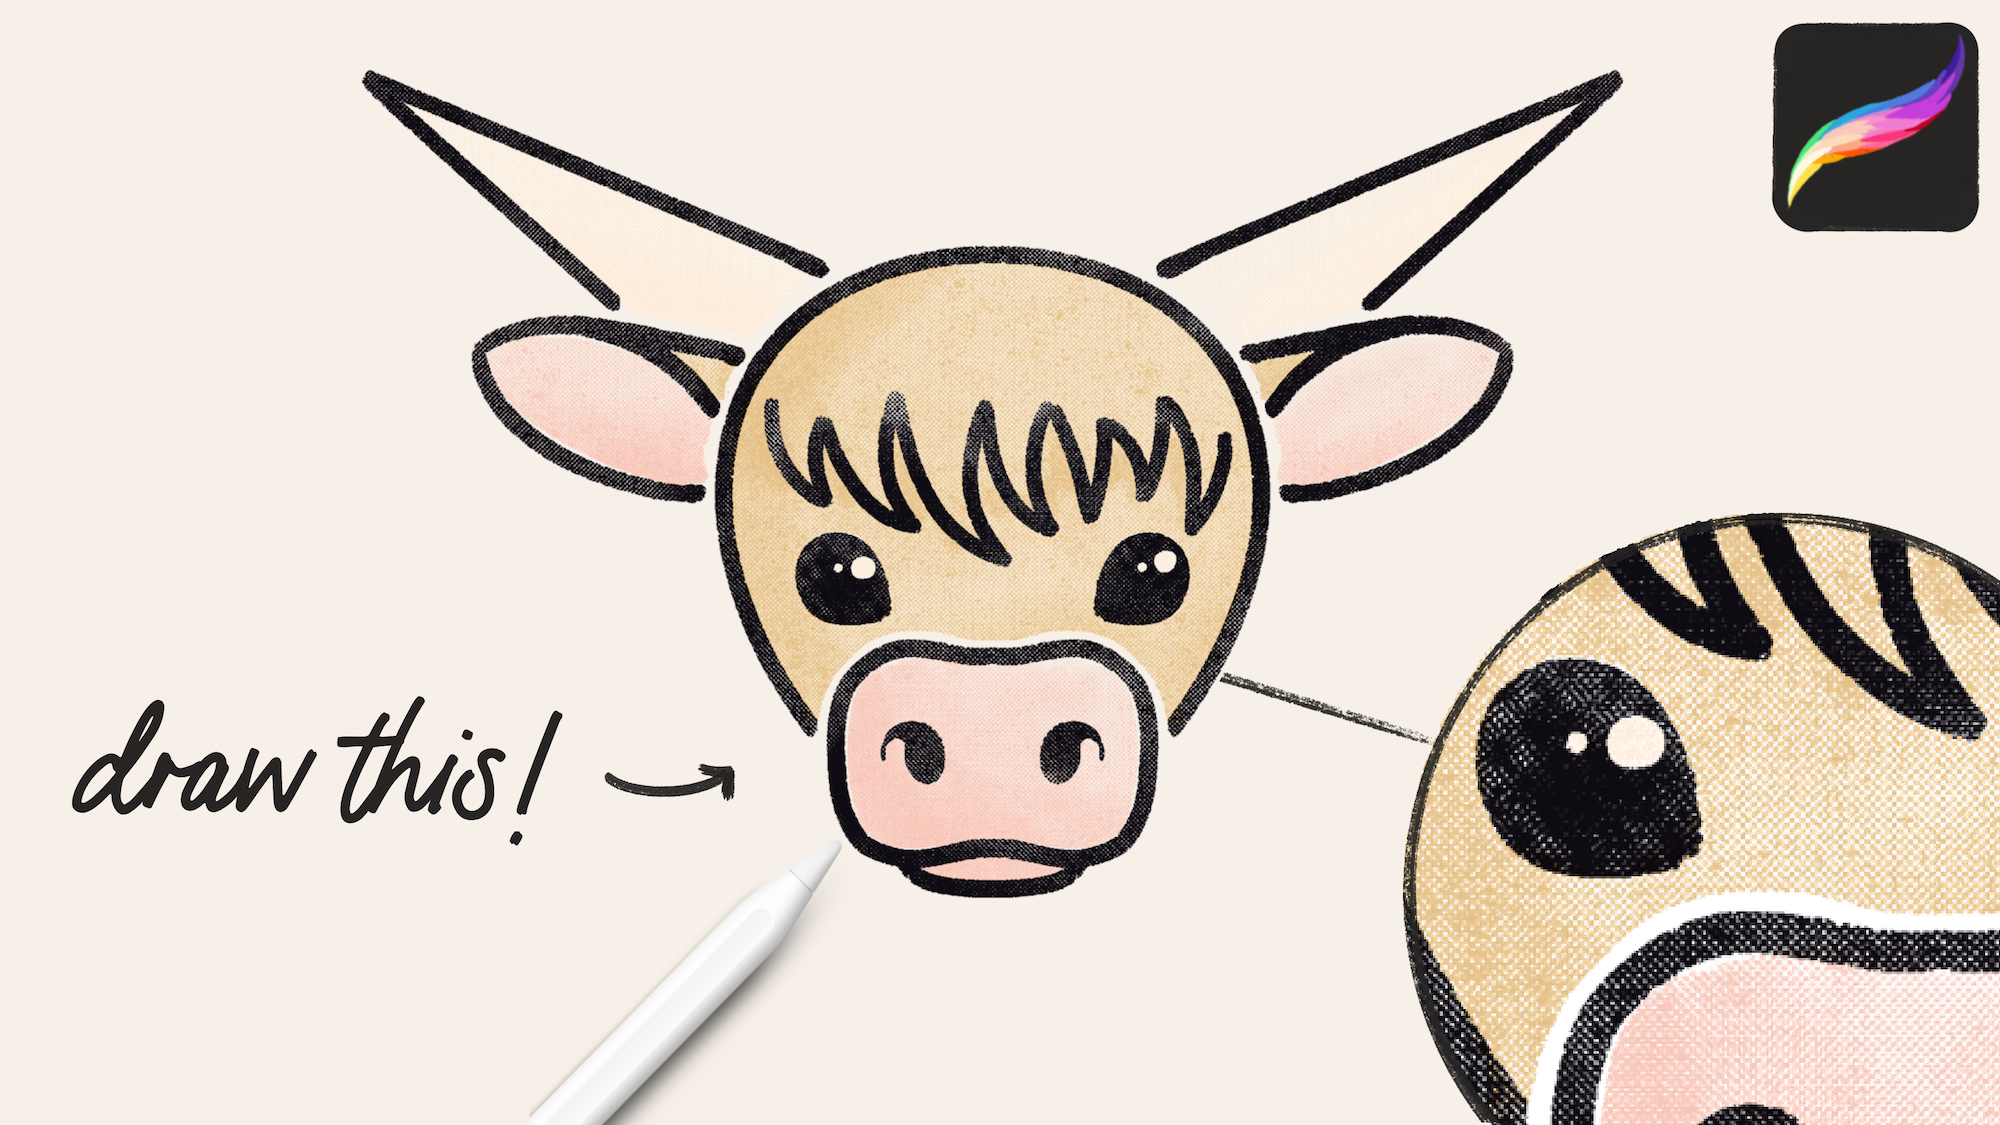
Create Risograph Effects in Procreate: Highland Cow Tutorial
Brushes

For this textured print effect, I’m using the Risograph for Procreate set from Uproot Brushes. Uproot always makes the best textured brushes and these are no exception.
Check out the full pack (and take 10% off at checkout with code WOOLY10):
project file
If you sign up for my newsletter, you can download this project file from the Resource Library on my site, which has the canvas and named layers all set up for you to start drawing - which means, no fussing with blend modes or canvas settings! Sign up for this and tons of other goodies:
Canvas Set Up & Layers
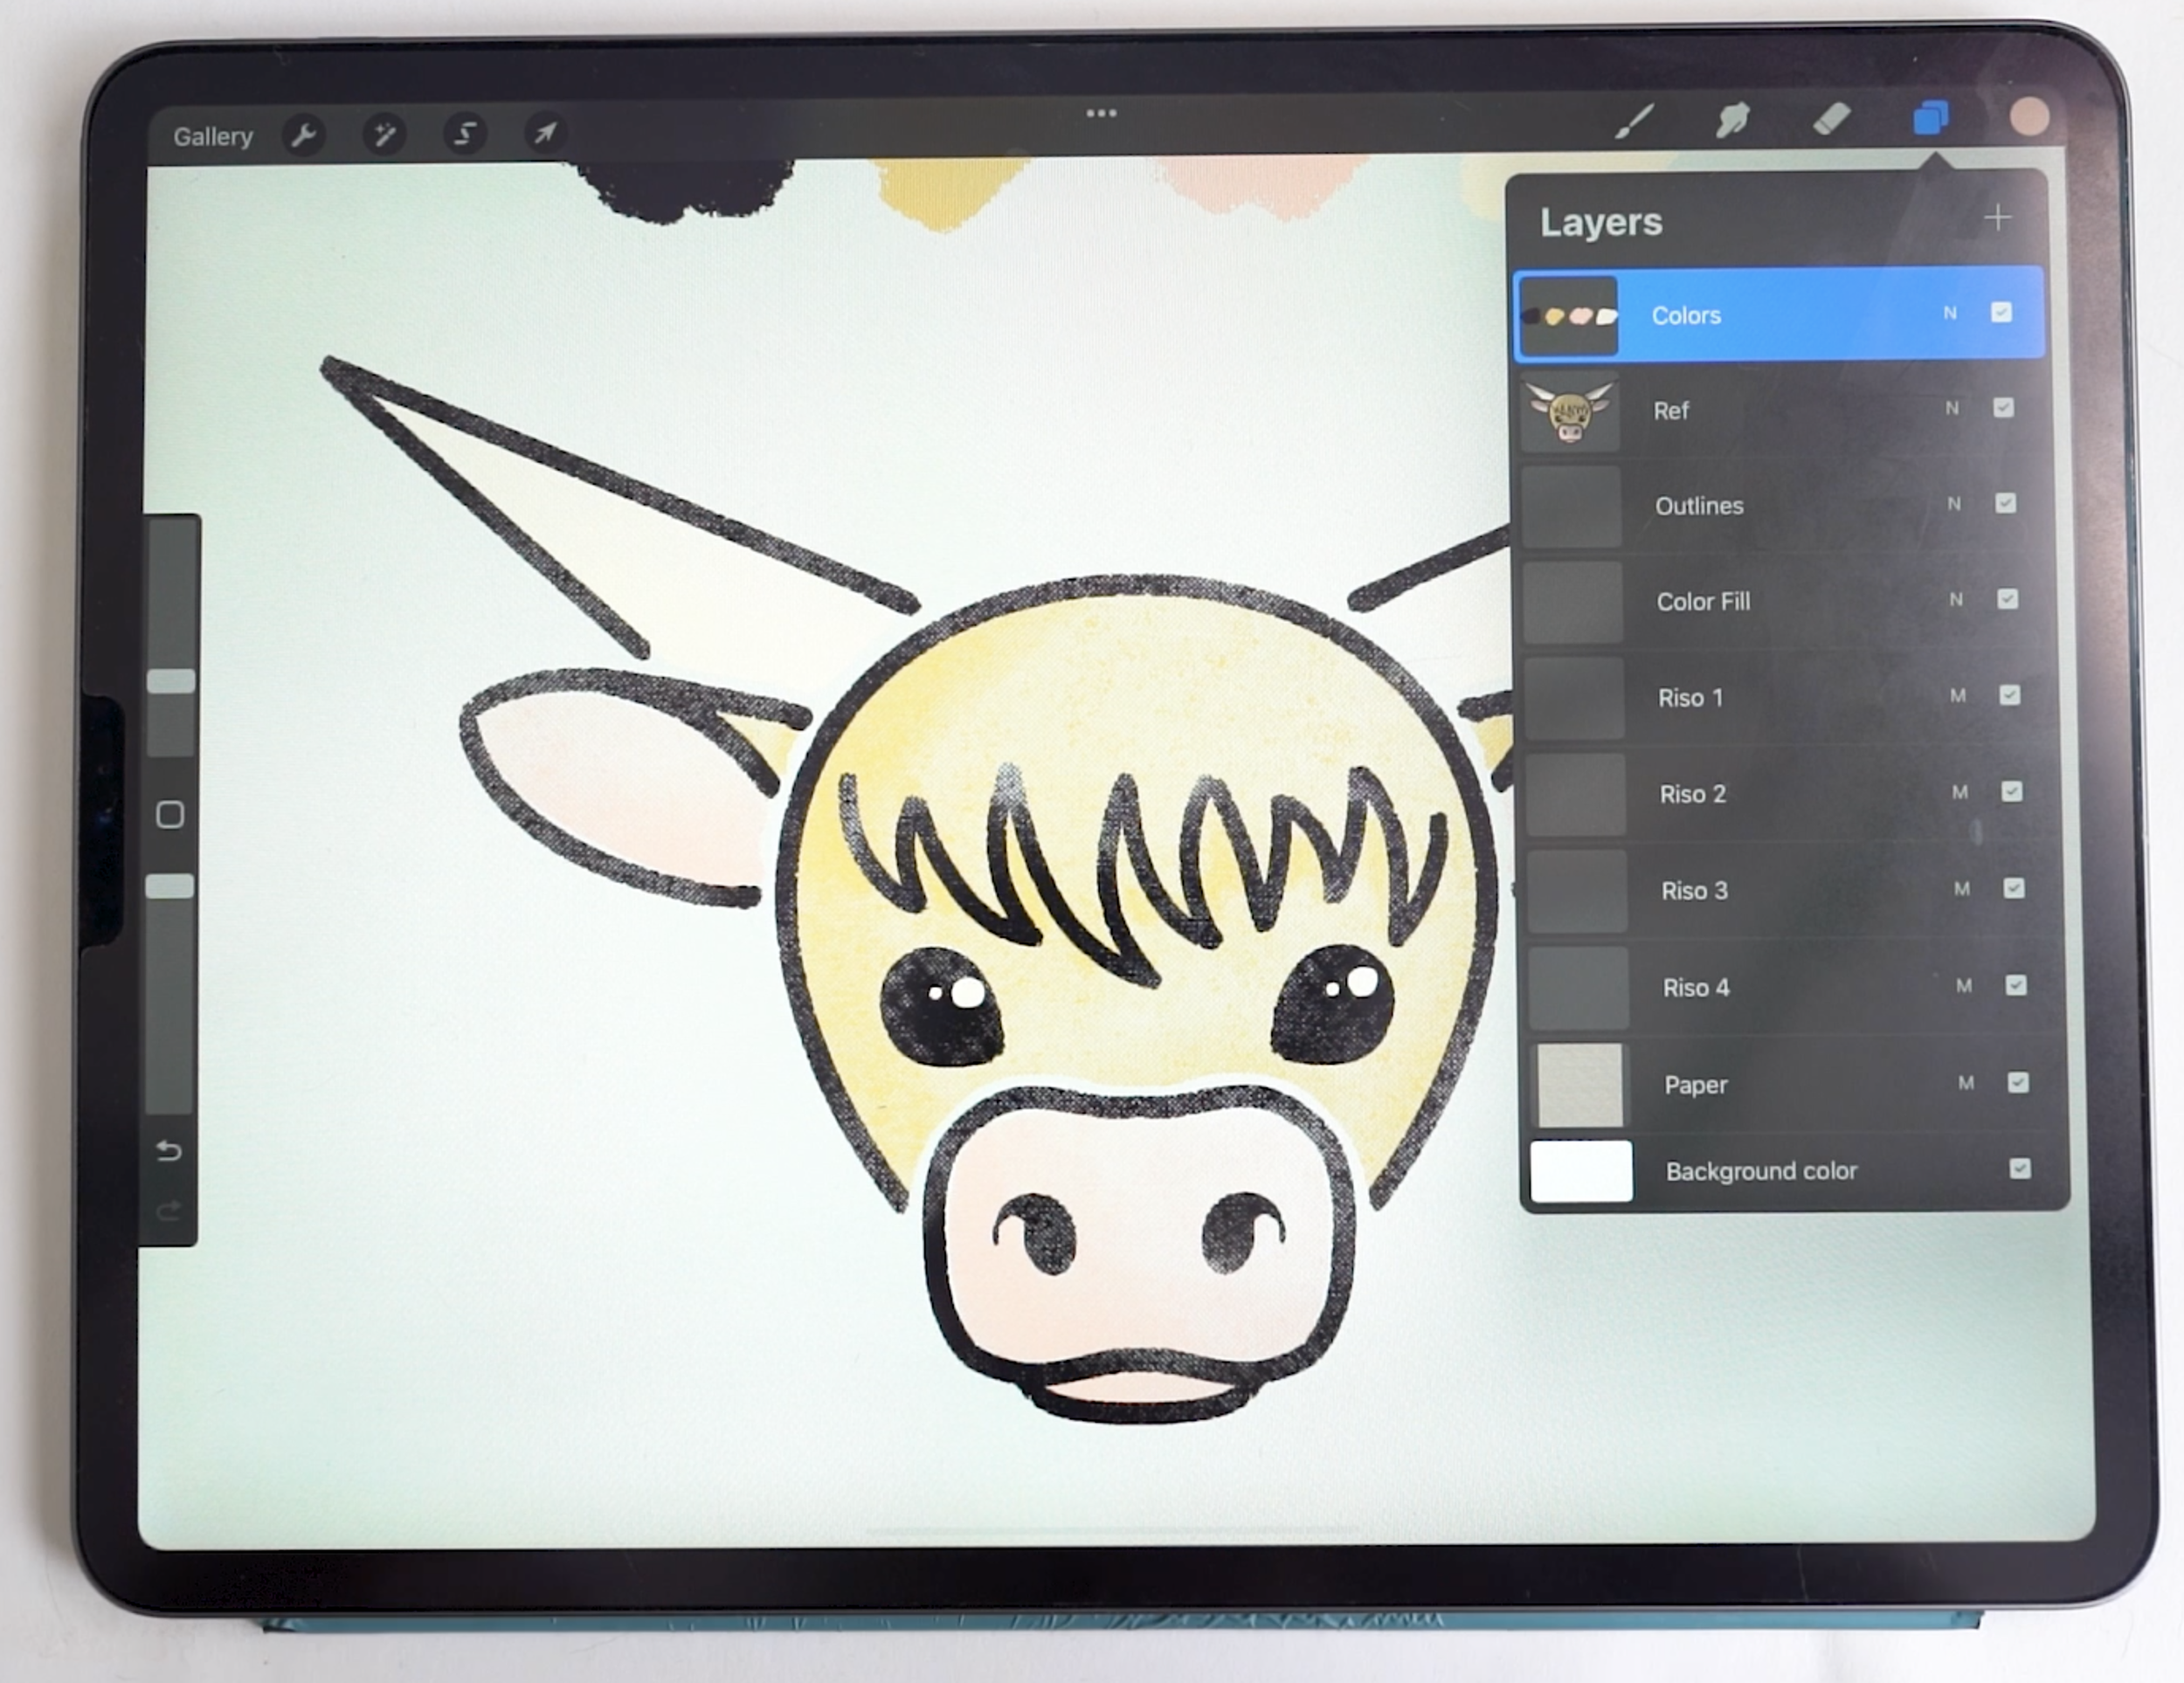
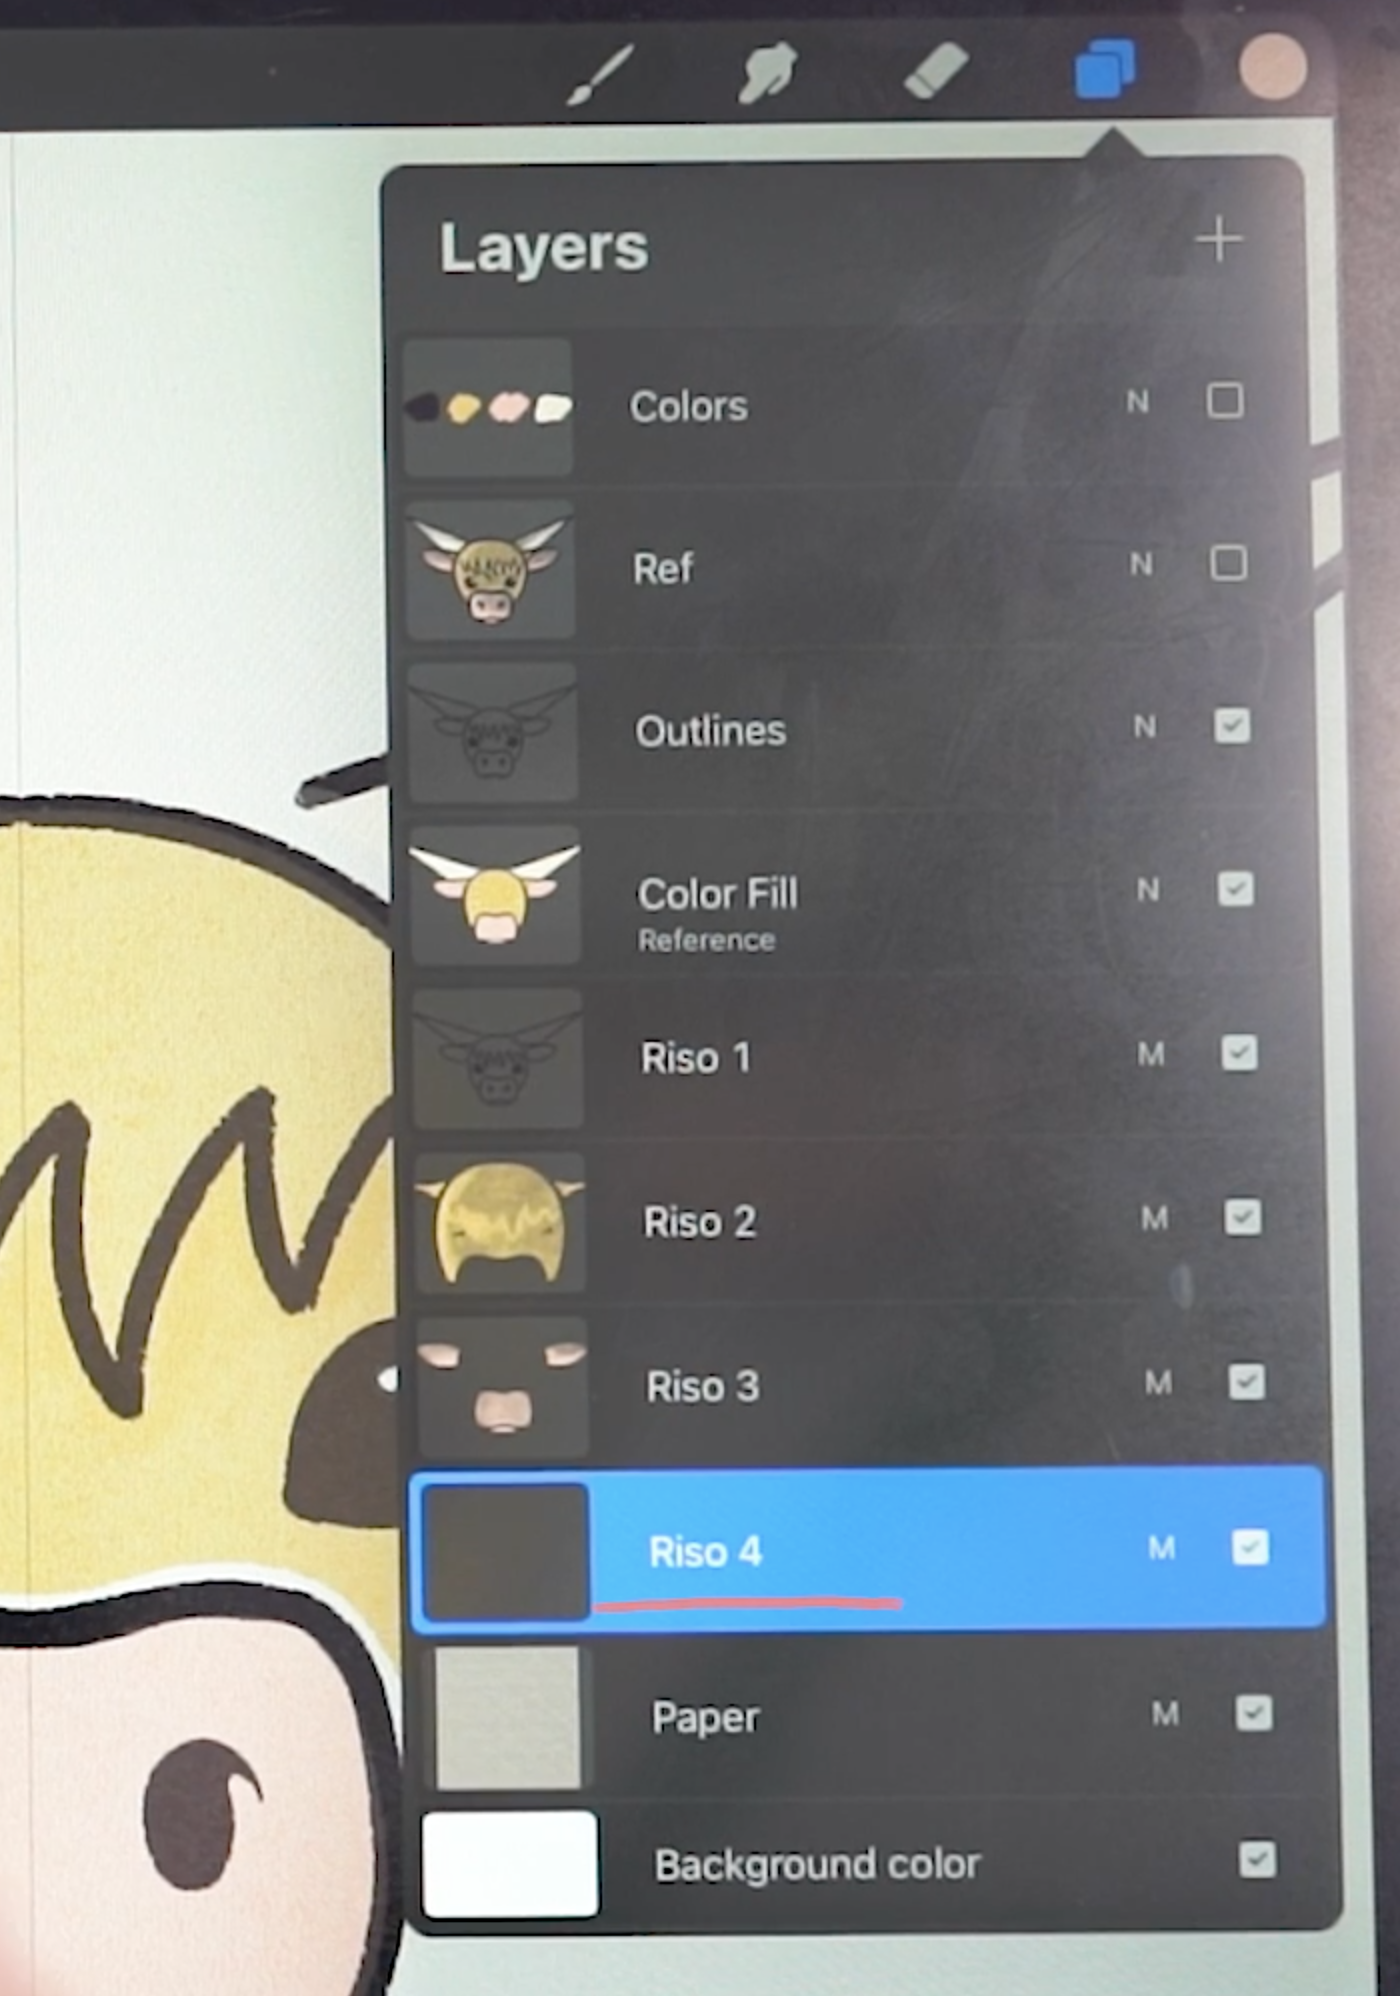
To set up the canvas from scratch, we’re starting in a 3000 x 3000 px canvas set to 300dpi. The layers are set up as follows:
Outlines (Normal) (Assisted)
Color Fill (Normal) (Assisted)
Riso 1 (Multiply)
Riso 2 (Multiply)
Riso 3 (Multiply)
Riso 4 (Multiply)
(Optional) Paper Texture
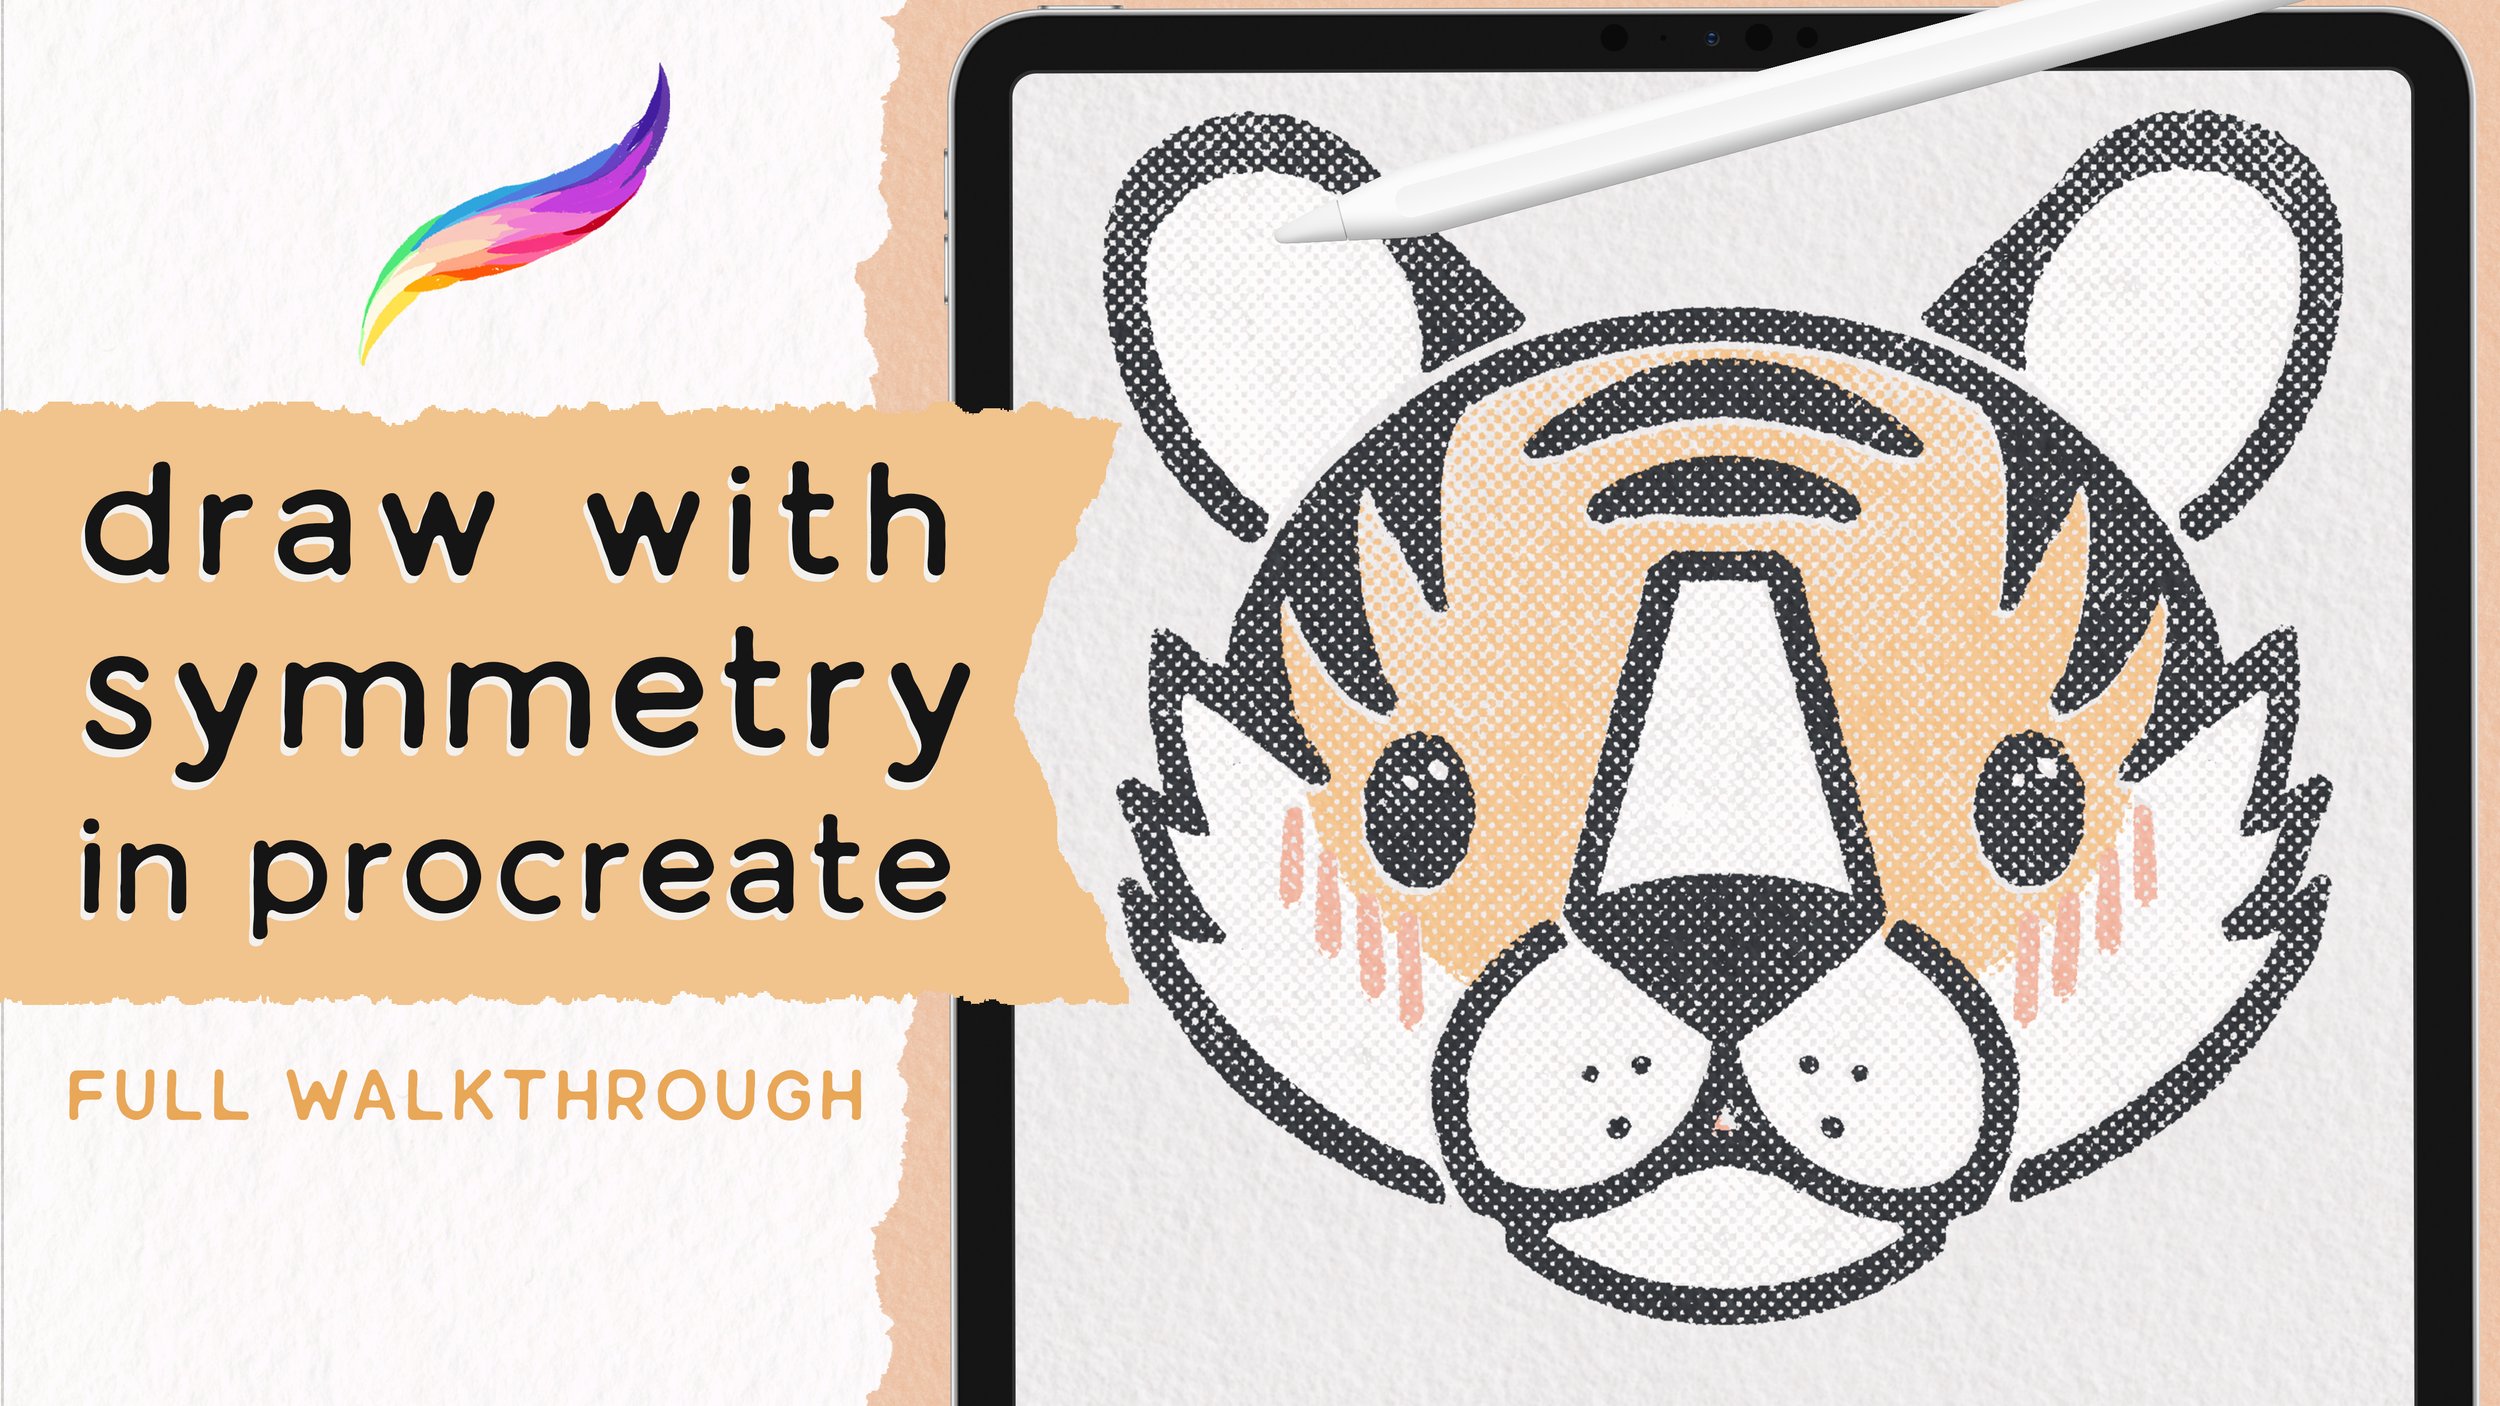
We’ll be using the Symmetry tool for the first portion of this project. To turn it on, tap the wrench icon in the upper left, then tap ‘Canvas’, and toggle on Drawing Guide. Then tap ‘Edit Drawing Guide’. Now, on the bottom bar, select Symmetry. Then tap ‘Done’ in the upper right corner.
Next, in the Layers panel, tap the Outlines layer to bring up the side menu options. Select ‘Drawing Assist’. Do this also for the Color Fill layer.
drawing the Outlines
Layer: Outlines
Brush: Crispy Crayon Monoweight
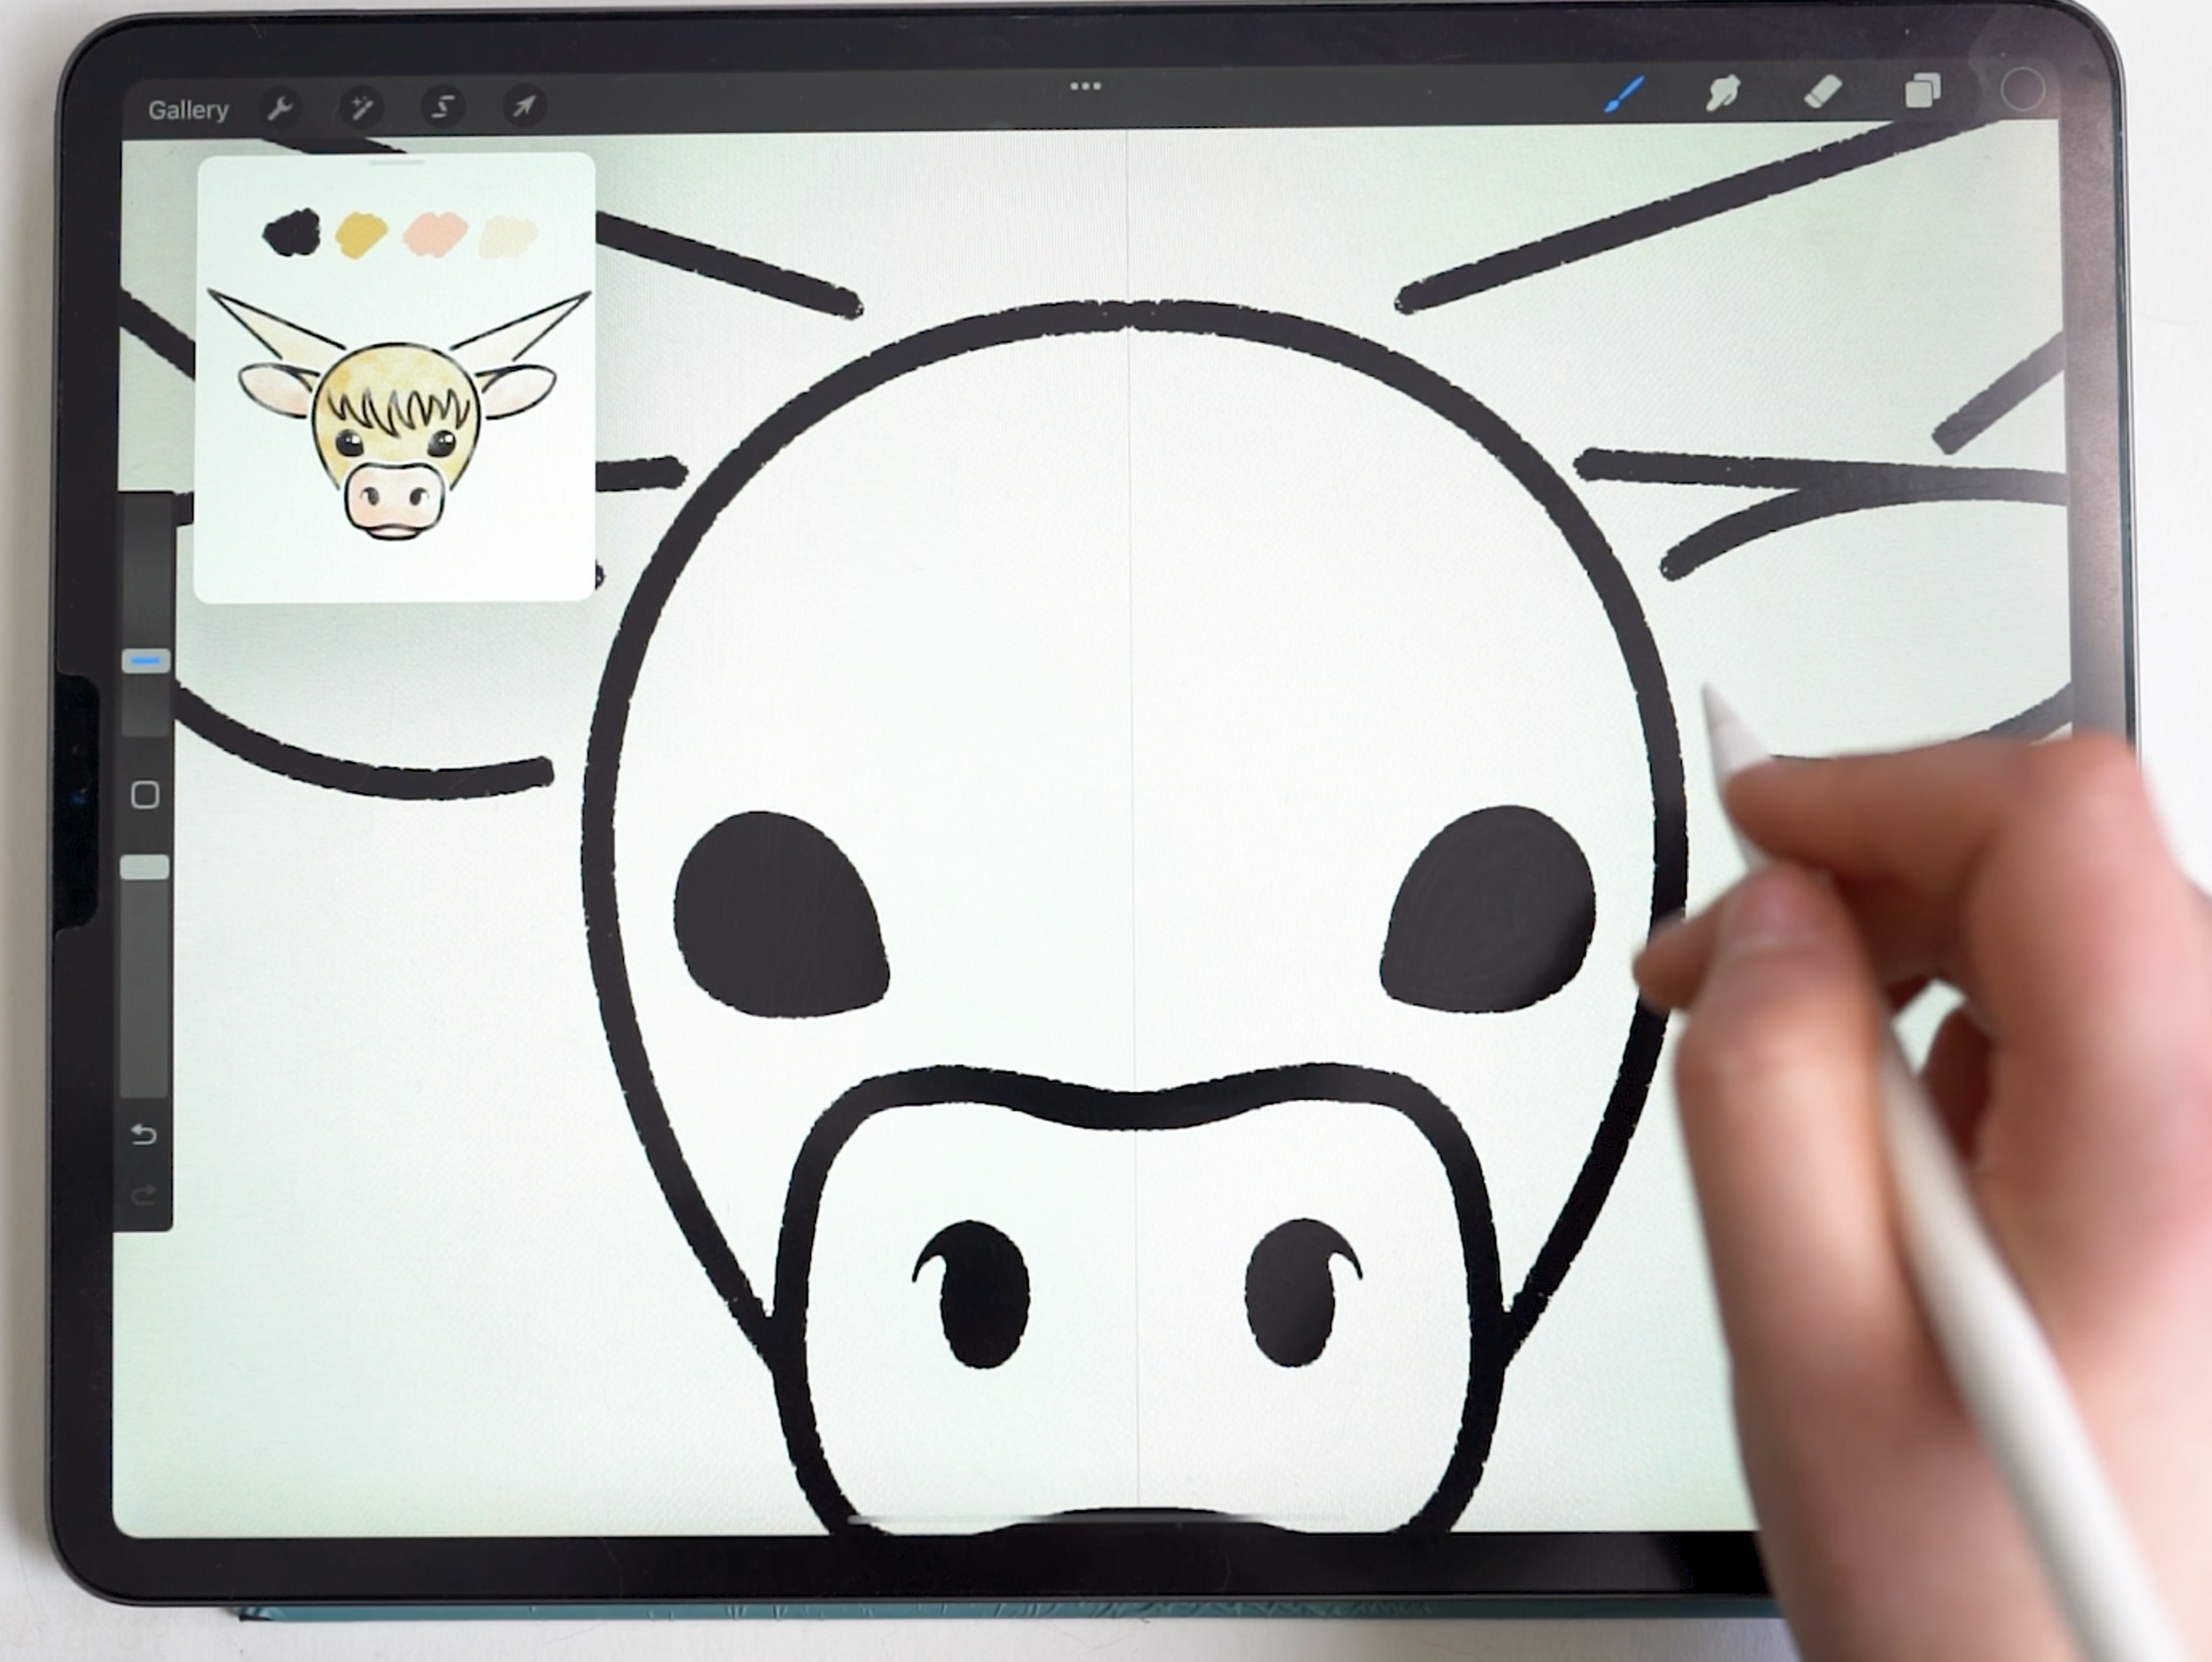
Start by drawing an upside-down horseshoe shape for the head. Keep the pencil to the screen until it snaps into a QuickShape - you’ll notice a notification bar at the top of the screen that says “Arc Created”. Release, and in that same notification bar, tap “edit shape”. Here, you can use the nodes (blue dots) that appear to adjust the shape size and position.

Next, draw this rounded bow shape for the snout, and add a small curve for the lower lip.


To create the nostrils, start with a solid oval. Then reduce the brush size to make this apostrophe shape, and fill it in with solid color.
To draw the ears, draw an arc, starting about 1/3 of the way down the head. Then draw the lower arc, connecting with the upper arc but leaving a small gap between the ear and the head.


Then, connect a straight line coming from the ear toward the head, maintaining a similar gap between the head and the line.


Create the horn by drawing an angled line from the head, and then connecting that line back behind the ear. Maintain a small gap between the end point of the line and the ear.
Now draw a tear drop shape for the eyes.
Turn off symmetry

For the next details, we will be working without symmetry. To turn this off, in the layers panel, tap the Outlines layer to access the side menu. Then toggle off Drawing Assist.
To give the cow some cute shaggy ‘bangs’ (or fringe, depending on where you live), we’ll draw a series of arcs in this sort of zig-zag formation.

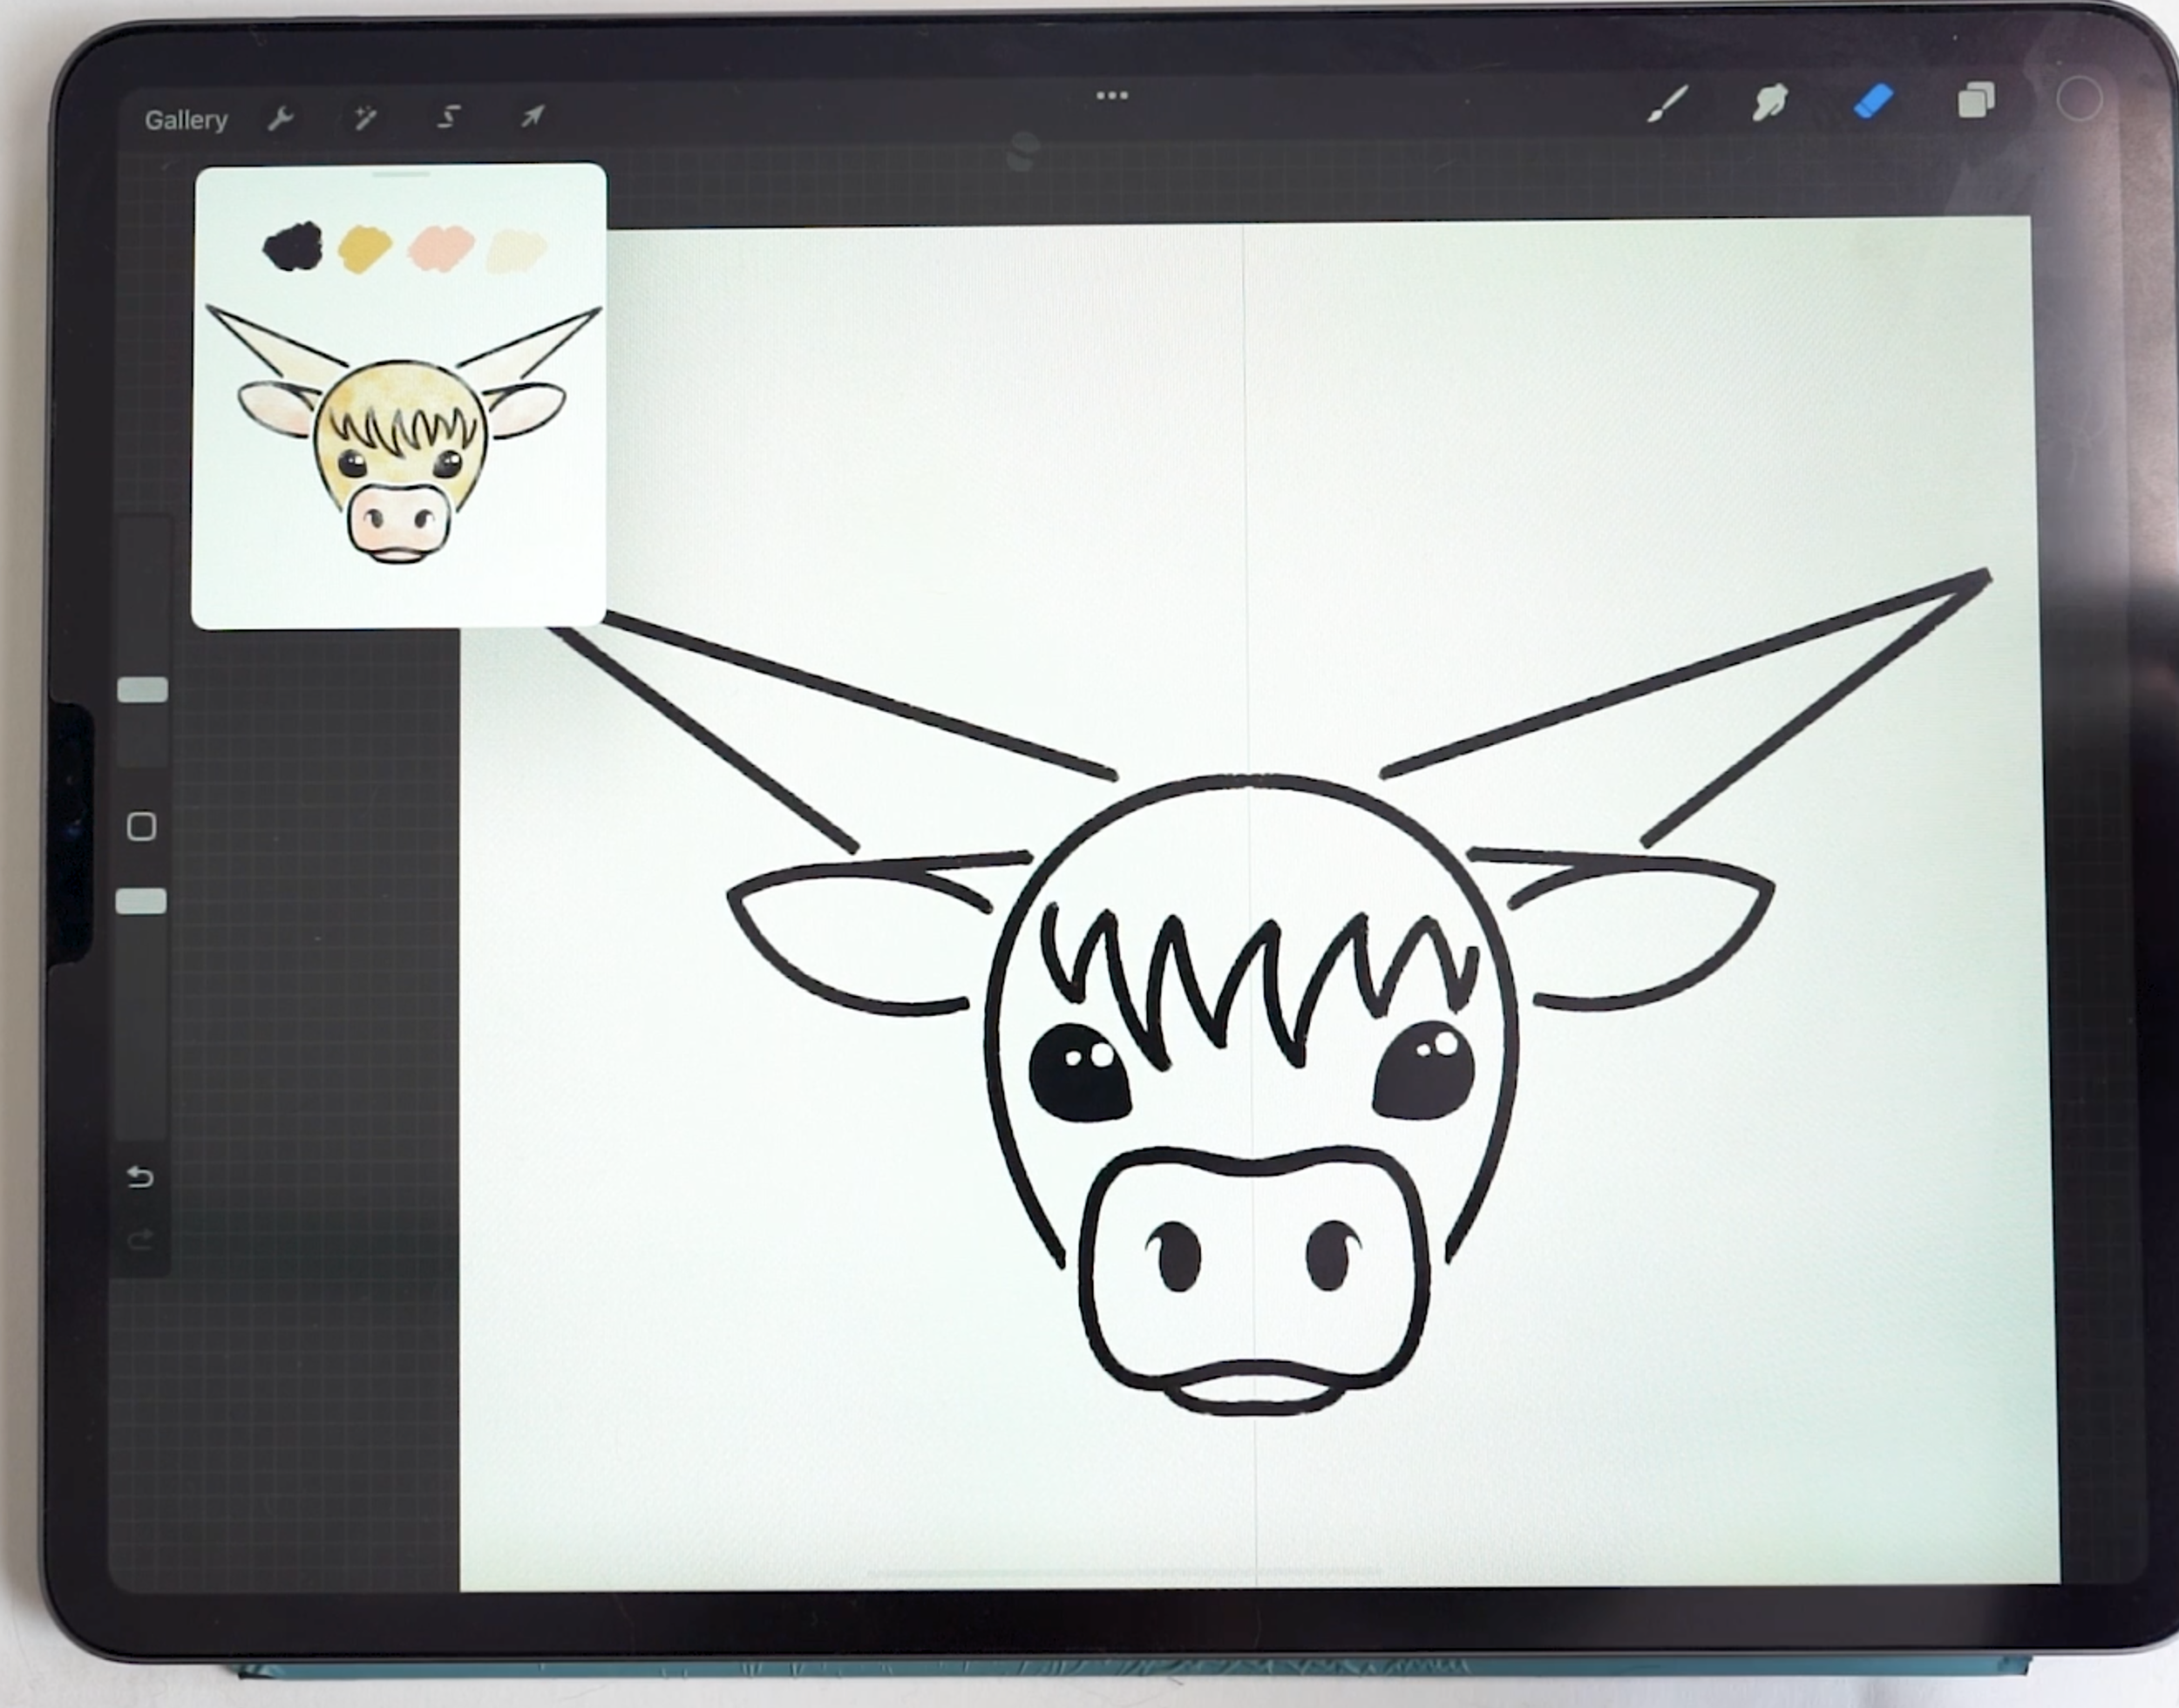
Then, using the eraser (set to the same brush), erase small circles in the eyes to create a light reflection.
Solid Color Fill
Now it’s time to create the solid color fill that we’ll utilize almost as a stencil for our risograph effect later on.
Move to the Color Fill layer, making sure that Drawing Assist is still turned on for the layer.


With the Crispy Crayon Monoweight brush and the yellow-orange color, draw a closed shape, following the curve of the head, and leaving a small margin between edge of the color fill and the nose outline.
Color drop to fill. Then create a closed shape for the upper part of the ear, again leaving a small gap between the edge of the ear and the outline of the head. Color drop to fill the ear.


Do the same for the inner ears, nose, and lower lip, this time using the blush pink color. All this is still done on the same ‘Color Fill’ layer.
Then create a solid color fill for the horns as well, using the ivory color. Once more, maintain a small gap between the edges of the horn and the rest of the drawing.
Then, turn off Drawing Assist for the layer, and use the ivory to color in the reflections in the eyes.


In the layers panel, tap the Color Fill layer to access the side menu. From there, select “Reference”. This will allow us to use Auto Select for each individual color while on other layers.
Then, reduce the opacity of both the Outlines layer and the Color Fill layer to about 50%.
Risograph Effects
Now we can fill in the Risograph texture. Start by selecting the Outlines layer contents - an easy shortcut for this is to use two fingers to press and hold on the Outlines layer until the layers panel closes and the selection mask appears.
Then, with the selection live, make sure you’re working on the Riso 1 layer.


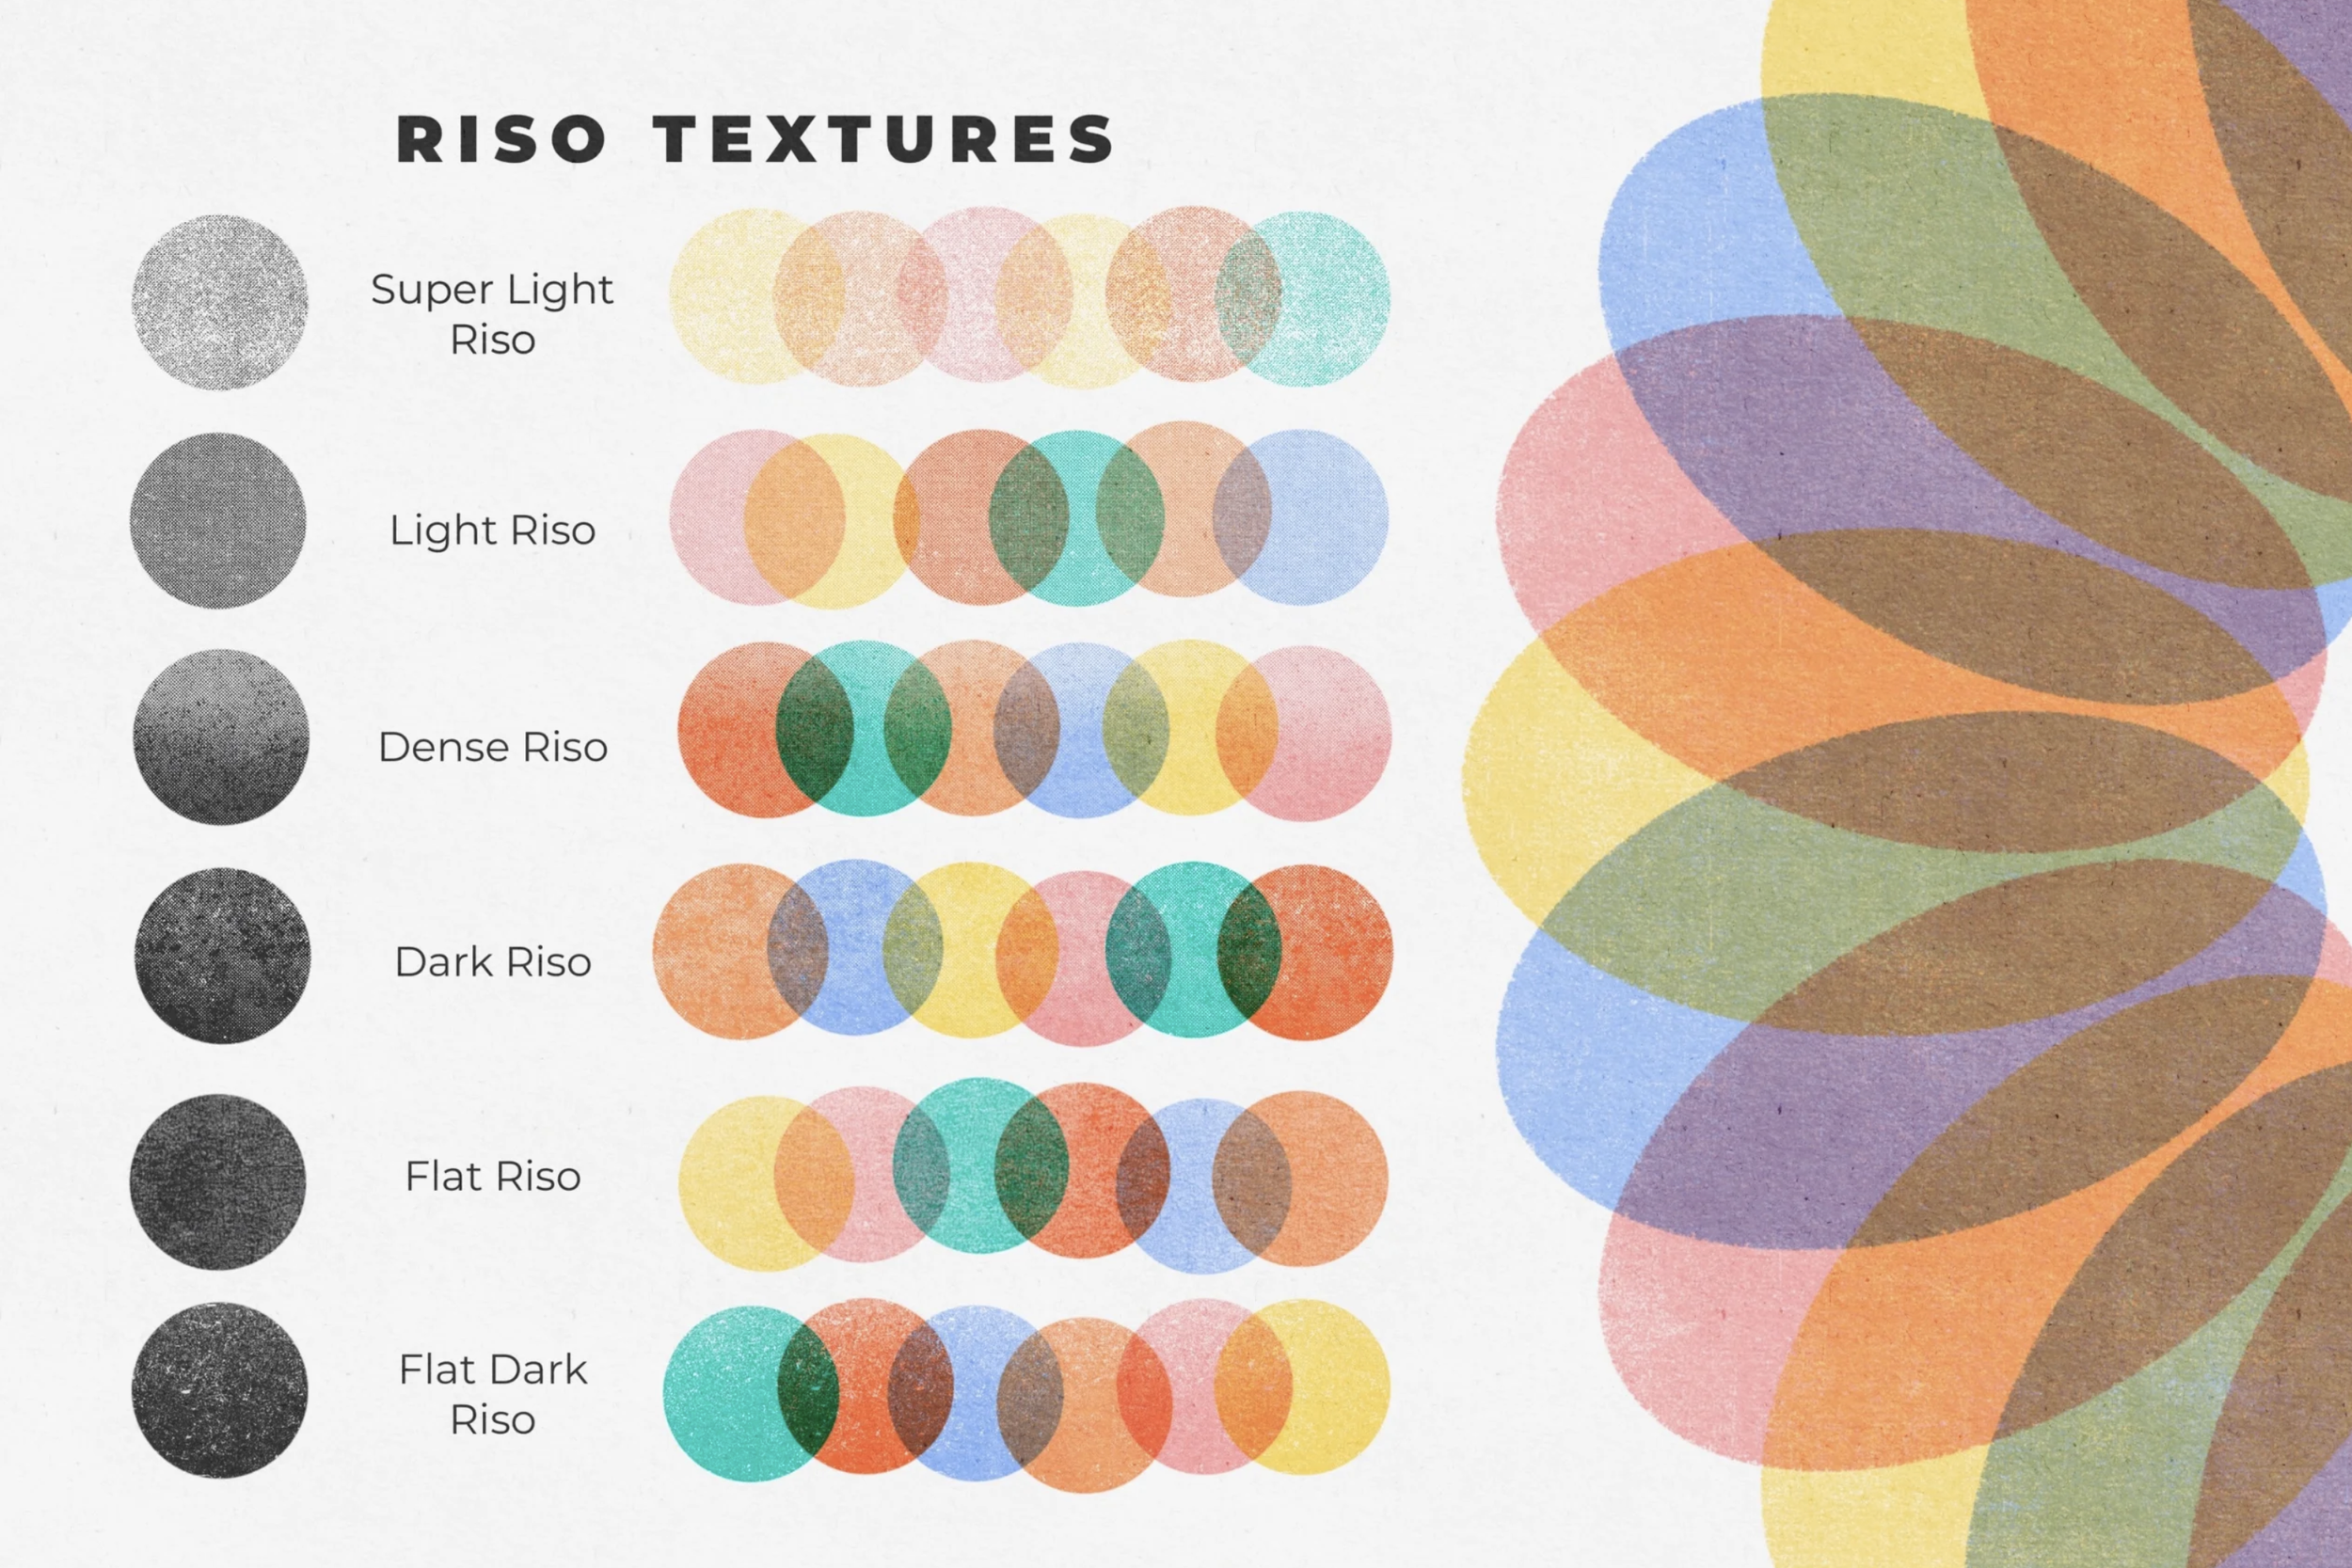
With the Dense Riso Shade brush - or the texture of your choice! - fill in the selected area, using black.
Then release the selection and move down to the Riso 2 layer. Tap back into the selection tool, and make sure now that is set to Automatic, and that the ‘Color Fill’ option (with the paintbucket) is turned off.


Now tap to select all the yak (orange-yellow) color areas. You may need to adjust the selection threshold to ensure the selection contains only the yak color portions.


Now use the Dense Riso Shade brush with the same yak color to fill in the selected areas. If you want, you can use more pressure, or multiple brush strokes, to apply heavier pigment under the bangs.
Now, release the selection, and move to the Riso 3 layer. Tap back into the selection tool, and this time, tap all of the pink areas to select them.


Once again, paint in the risograph texture with the Dense Riso Shade brush. This time, concentrate heavier pigment on the lower edge of the ears, as well as the bottom lip.
Next, release the selection by tapping the selection tool icon, and move to the Riso 4 layer. Tap back into the selection tool, and tap all of the ivory areas to select them - including the reflections in the eyes.


Use the Dense Riso Shade to fill the selected area with riso texture. I like to really concentrate pigment in the reflections in the eyes, since it’s such a small area. This might mean going over it three or four times with the brush.
Now back in the layers menu, hide the visibility of the Outlines and Color Fill layers. (You can also delete them - we won’t need them anymore!)

As a final touch, I’m shifting the Riso 1 layer off register to add to the print effect. To do this, make sure you’re on the layer you wish to move. Then tap the Transform tool, and tap the screen outside of the bounding box that appears to ‘nudge’ the layer in the direction you tap.

And that’s the finished piece! Go share your lovely work (and feel free to tag me @woolypronto so I can see)!
start painting now, or pin this project for later!
Get FREE Procreate Palettes in Your Inbox:

JOIN THE newsletter fam:
When you join, you'll gain access to dozens of Procreate freebies: brushes, paper textures, workbooks, and my entire library of color palettes. I send out updates each week with my best tips and tricks, and you'll be the first to hear when new freebies are released!