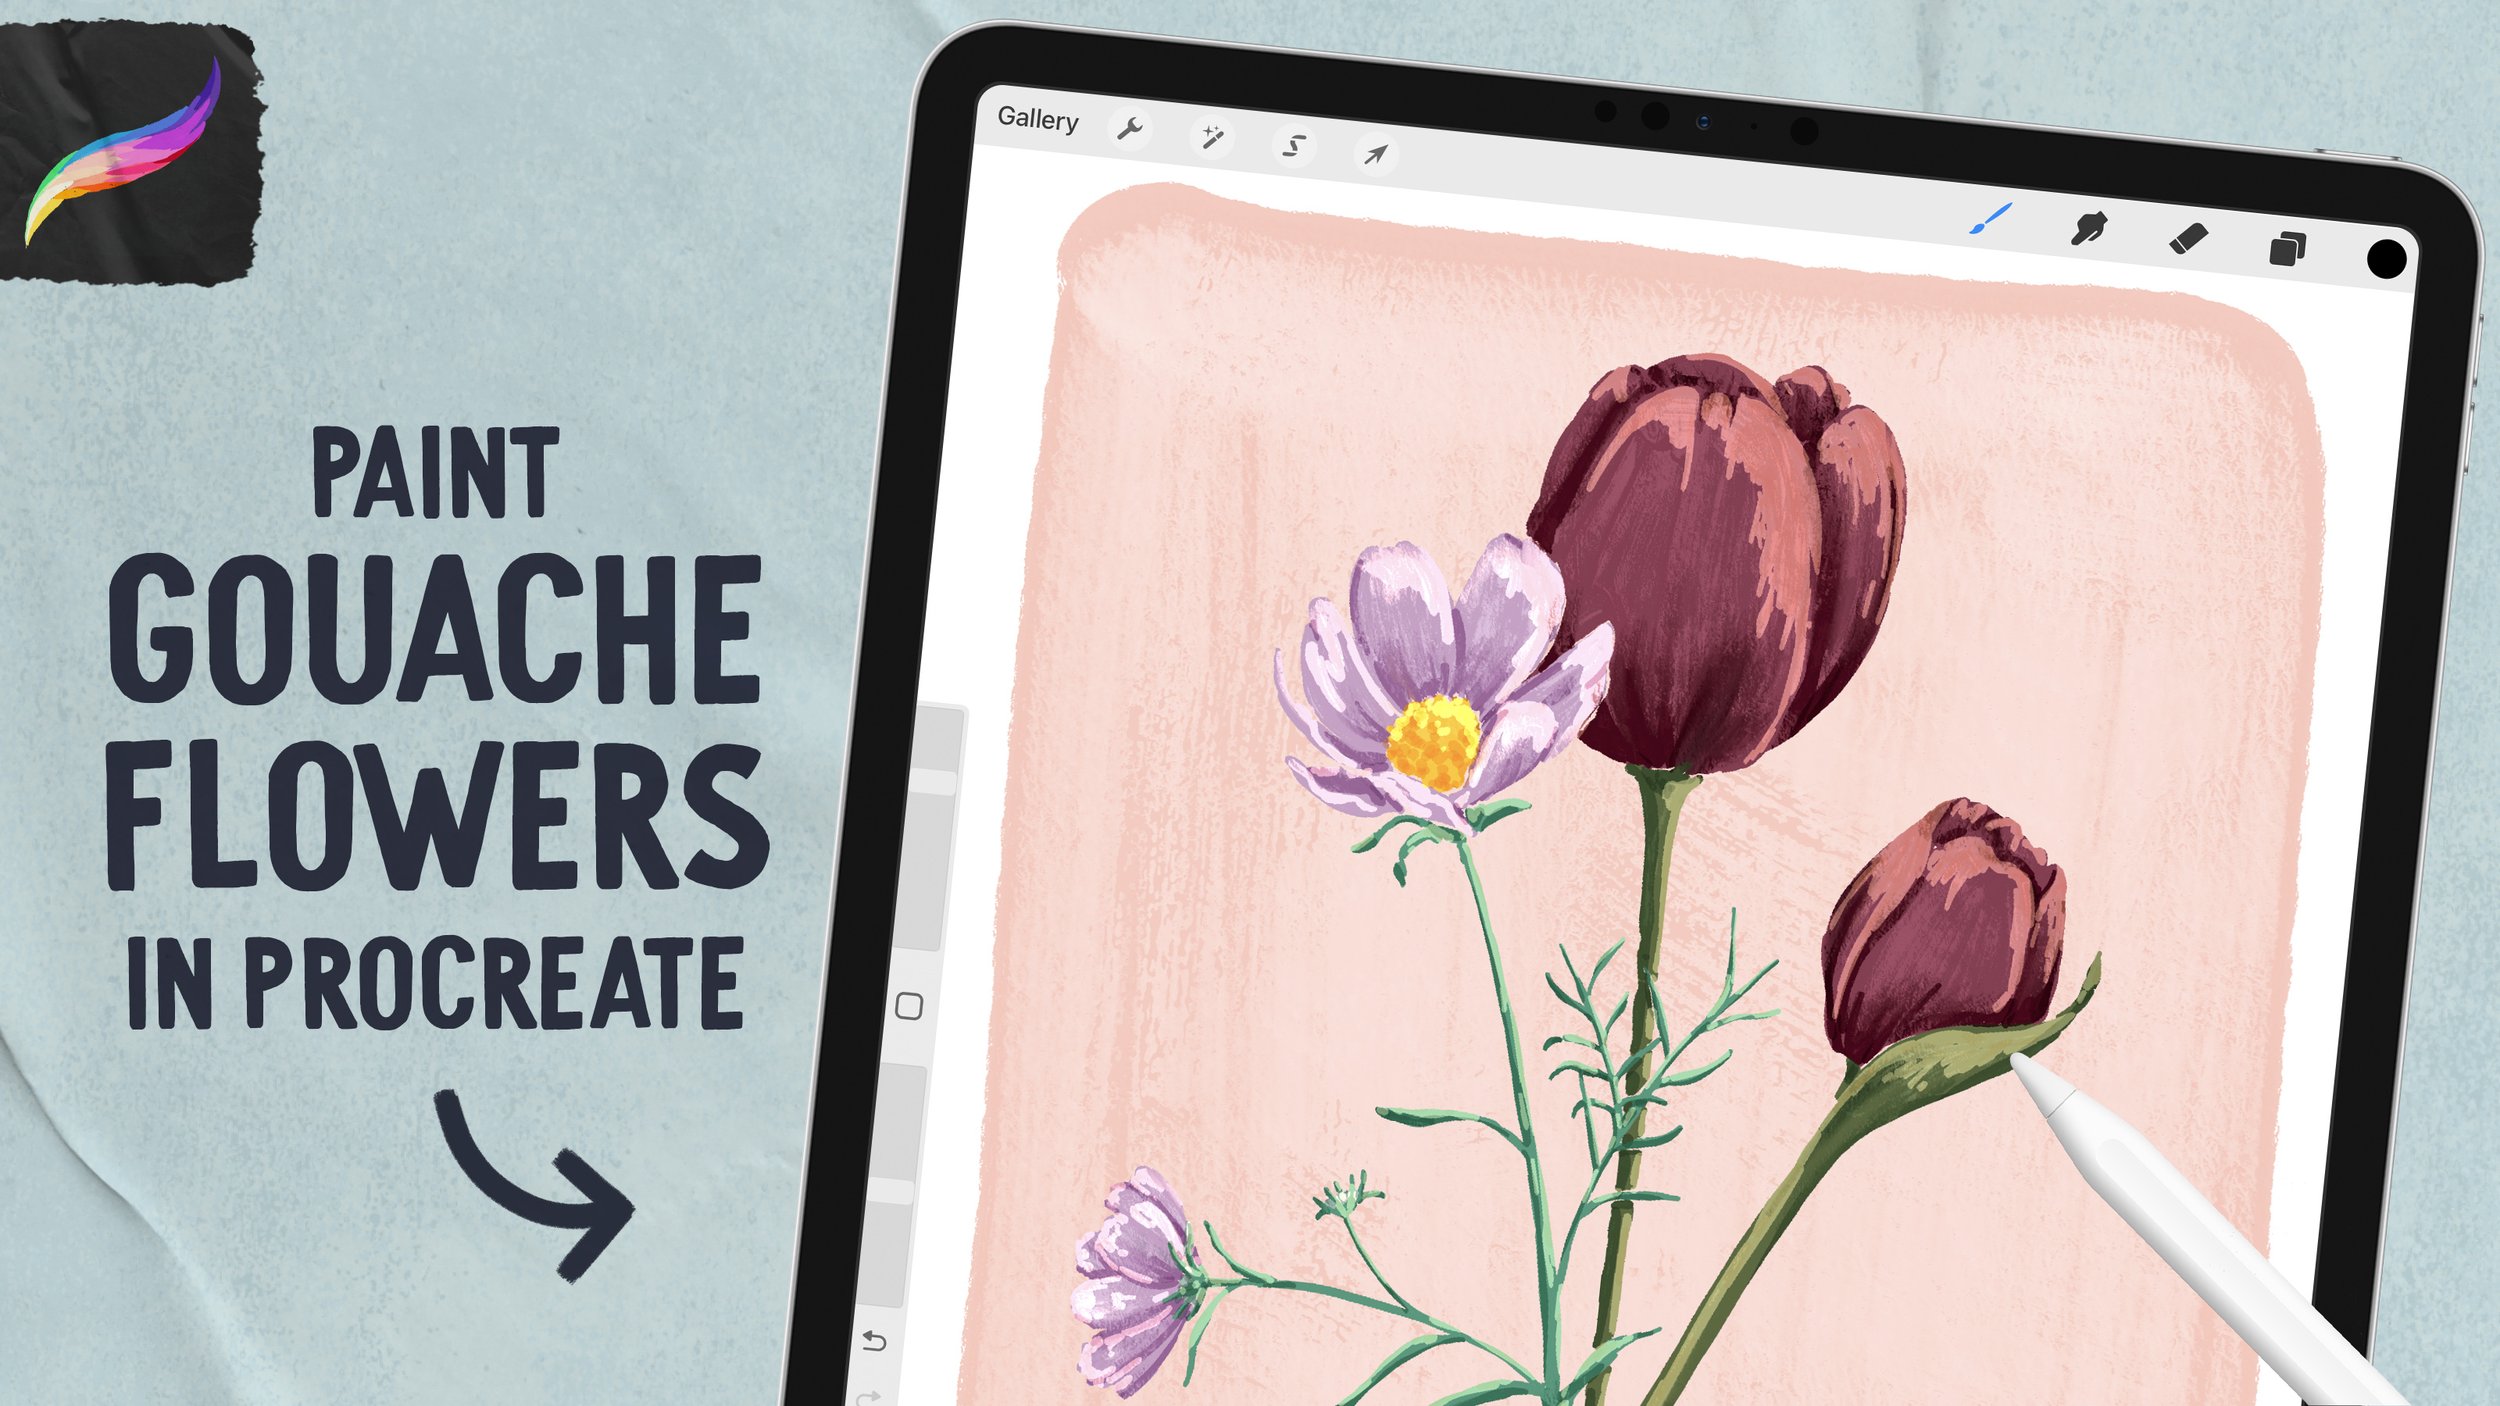
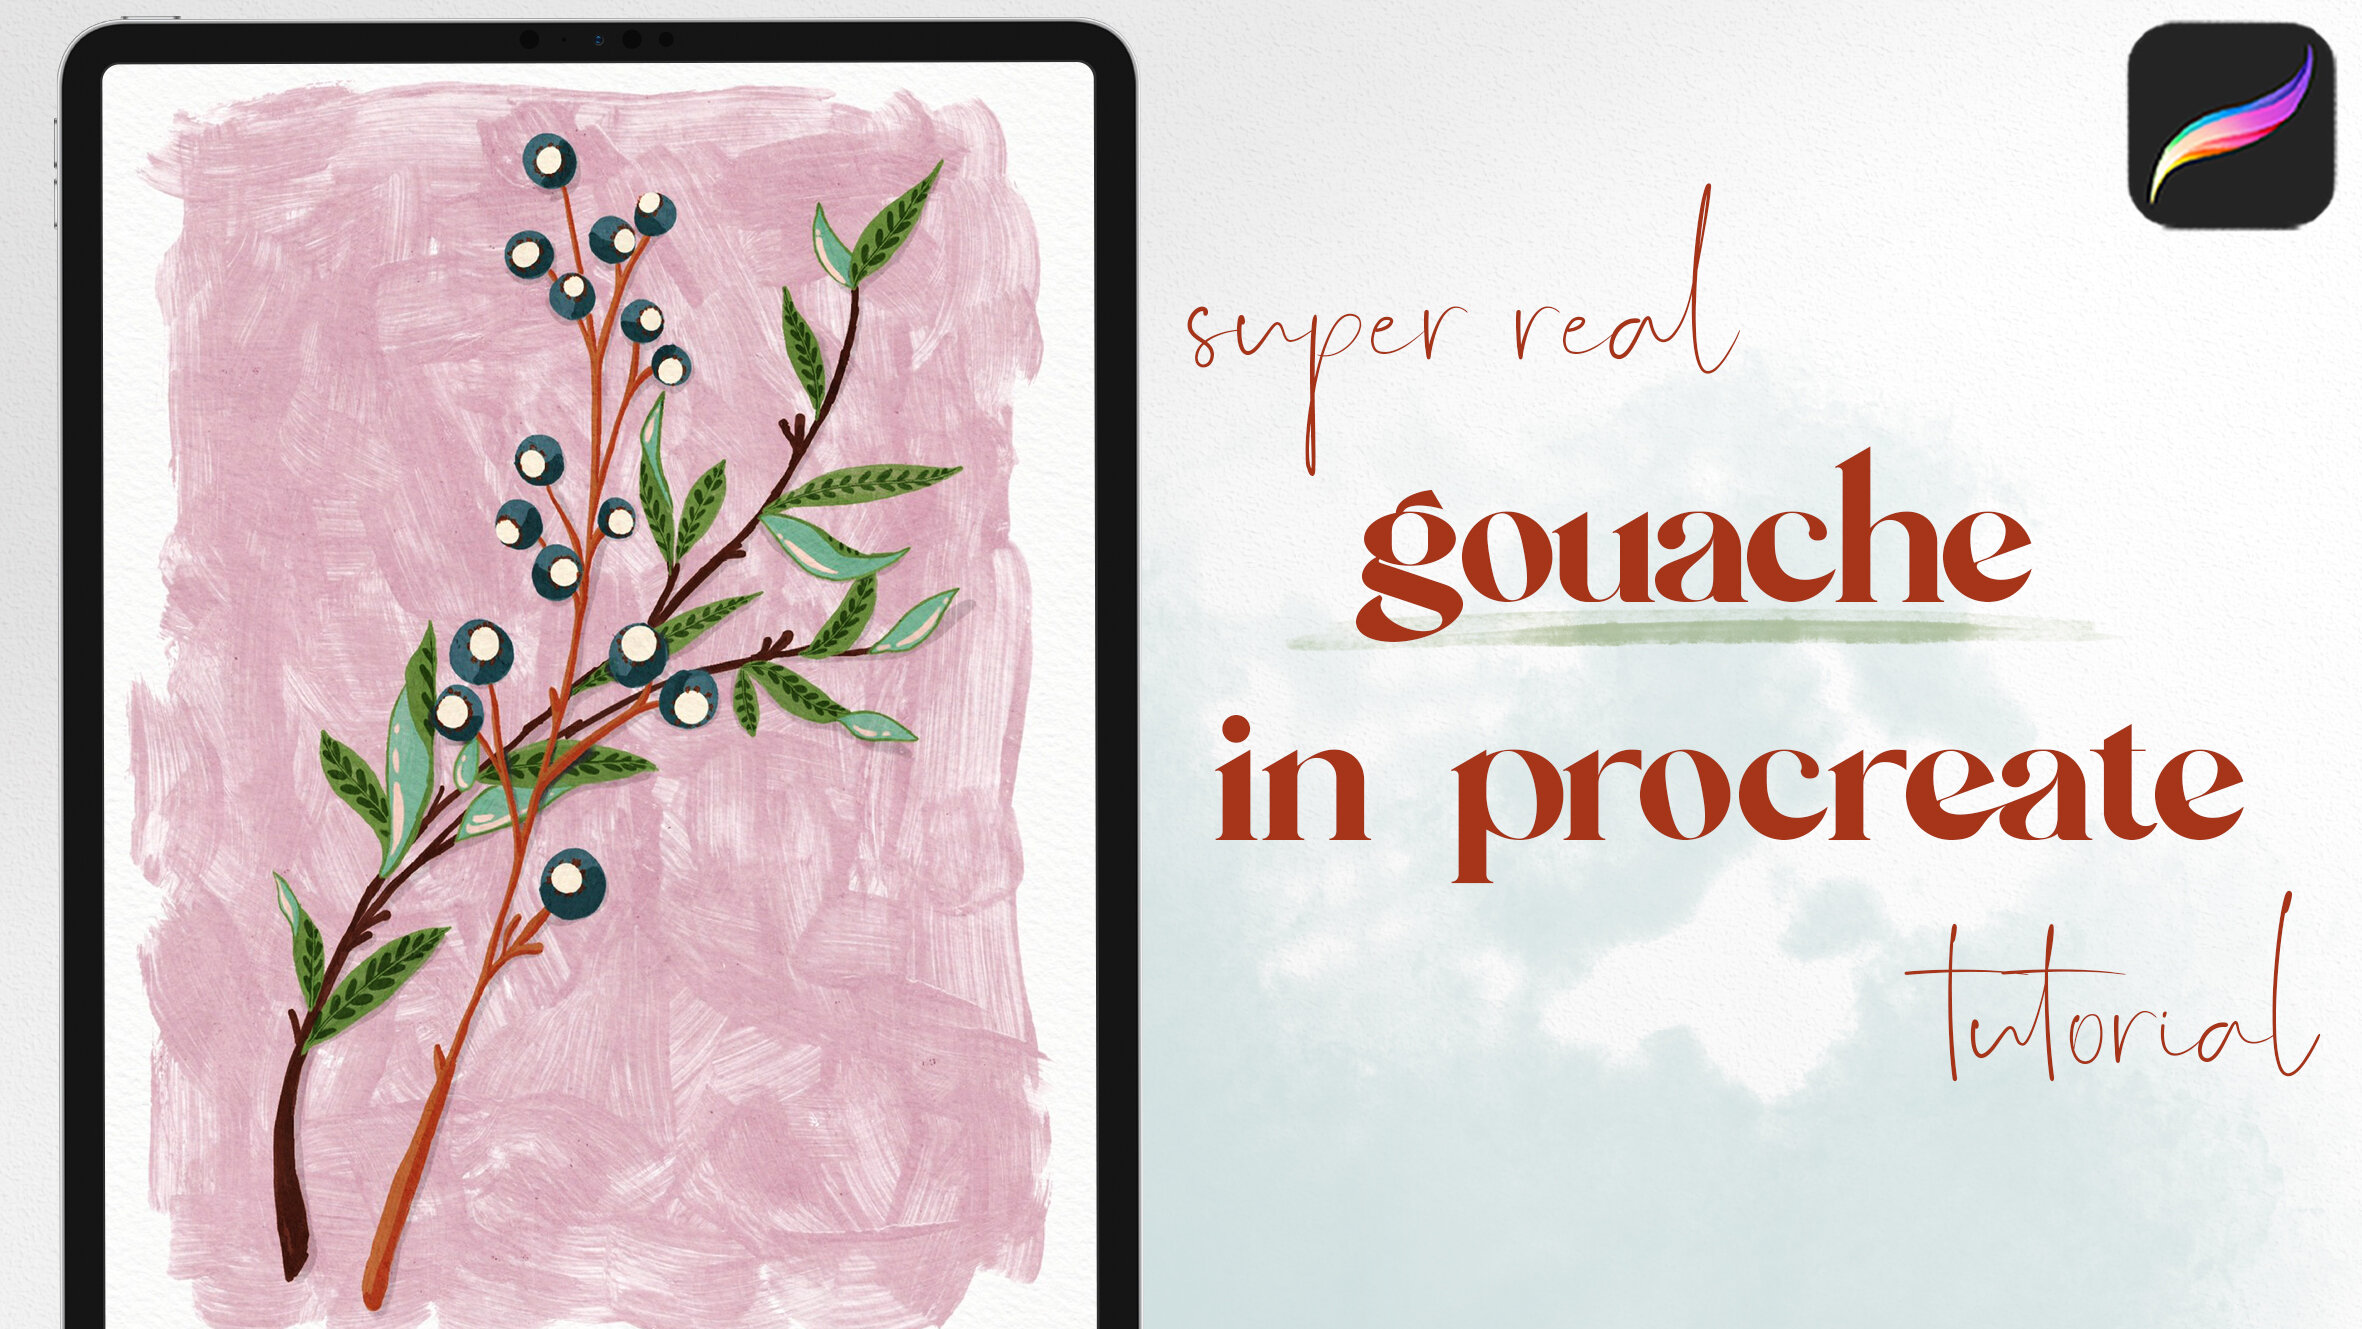
Watercolor in Procreate: Apple Branch Tutorial
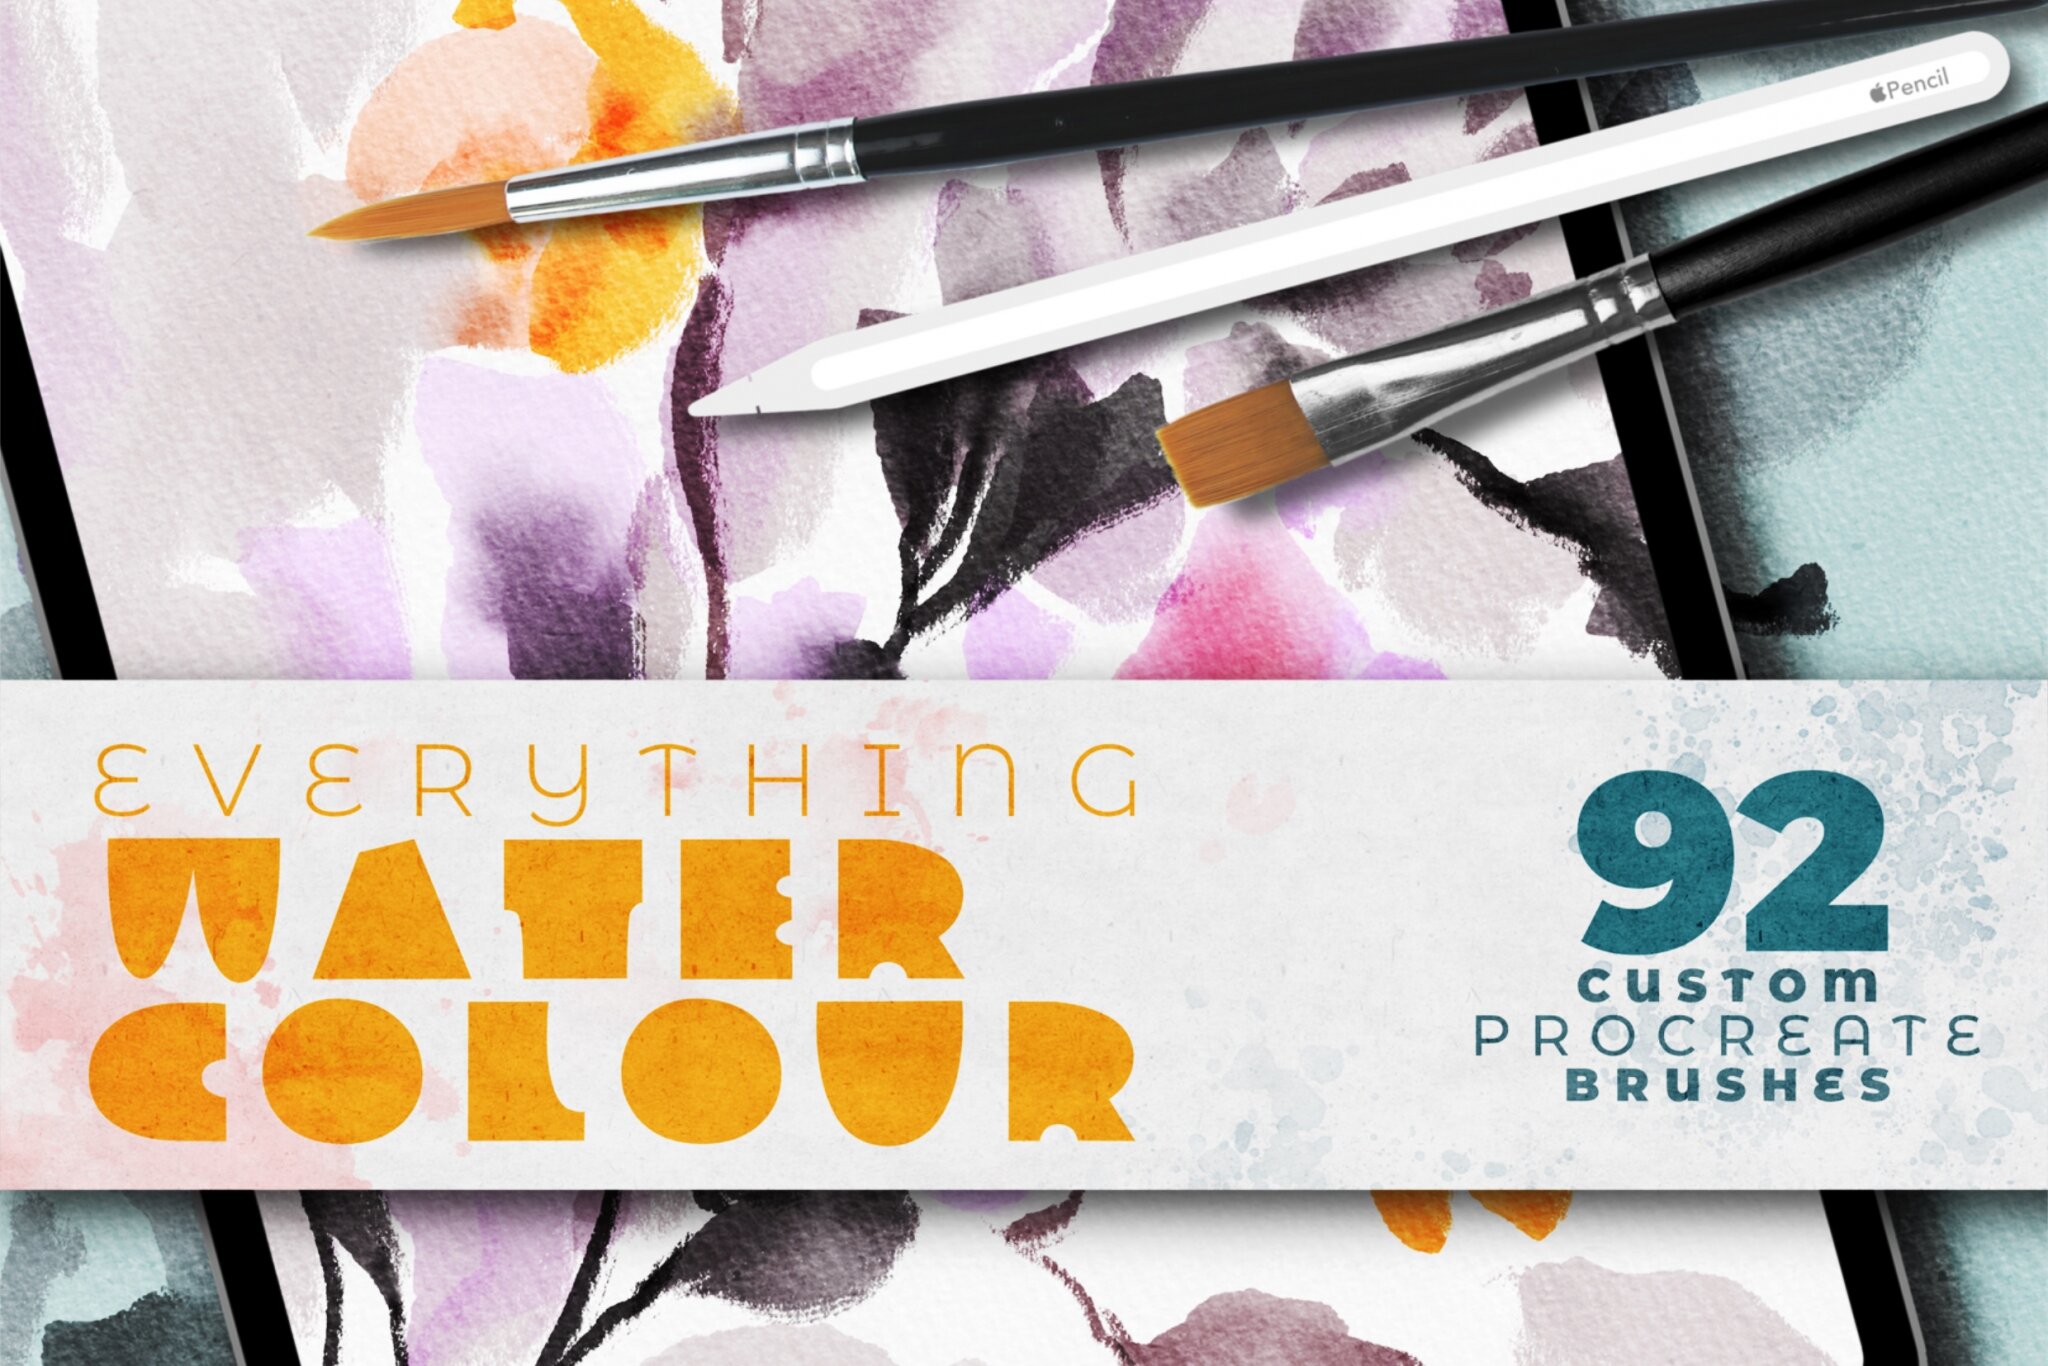
To paint this, I used some of my favorite watercolor brushes from Uproot Brushes. Check out the full pack (and use my affiliate link to take 10% off at checkout with code WOOLY10):
Brushes
Here are the brushes we’ll be using:
AN Handmade Paper Overlay (Overlay Brush Pack)
AN Watercolor Paper Rough
AN Inky Wash
AN Push Down for Water
AN Dark Edge Bleeder
palette
The color palette this tutorial uses is the October 2020 palette, which is available for free for my newsletter subscribers. You can become one (and access all kinds of other goodies!) by signing up here:
Setting up the canvas
Start by creating a 3000 by 3000 pixel canvas set to 300 DPI. The beauty of working with paper texture brushes is that you can create a canvas of any size and still have the texture in the canvas. Then add around 7 layers, and select the top three of them and group them together. This will become the texture stack.
To create this unique texture, here’s how we’ll set up the layers.
On the bottom of the three layers, import this photo. Scale and position it on the canvas. Then set the layer blend mode to Color Burn.
On the next layer up, use an Overlay brush - with the primary color on black and the secondary color on white - to paint the entire layer in a single stroke filling with texture. Set the blend mode to Overlay.
On the topmost layer, choose a midtone grey, and then choose a regular paper texture brush - in the example, I’m using the Watercolor Paper Rough Brush - and again, use a single stroke to paint the entire layer with texture. Set this blend mode to Linear Burn, and reduce the opacity to around 20%. This will give an all-over texture to the page.
Sketch
On an empty layer below the texture group, choose a pencil brush to begin sketching. Start by sketching a branch, being mindful of how you want the finished composition to look. Decide where the apples are going to be placed, and extend branches to them. Sketch the leaves in as well. If your composition has a lot of layered elements like mine, be sure to erase overlapping elements so that you know what is at the front and what is layered behind.
When you have completed the sketch, lower the layer opacity to around 35%.
Watercolor
On an empty layer directly below the sketch, select a brown color and the Inky Wash brush. Set the size to around 6%. Follow the sketch to paint in the branches, using one stroke for each length of the branch. This will help achieve some flow within the watercolor.
On the same layer, select a teal color for the leaves. With the size set to 15%, use continuous strokes to paint each section of the leaves, following the sketch. Section out the twists and turns of the leaves, painting each side with its own separate stroke.
Next, move to a new layer below the branch layer. Select a gold color to paint a crescent shape on each of the apples, with the brush size increased to 30%. Then, switching to a red, start to dab in layers of color here. This time, use lots of different strokes; the goal is to layer in color variation, and we’ll go back to smudge the apples next.
Smudging
Switch to the smudge tool, and choose the Push Down for Water brush. With this brush, dab over the red and yellow, blending the colors together with lots of brief brush strokes.
Removing the overlap
To remove the overlapping colors from the apple layer, move up to the branch layer. Use the selection tool, set to automatic, to select the negative space outside the painted branches and leaves. Then tap “invert” in the bottom toolbar. With this selection still active, move down to the apple watercolor layer, and use three fingers to “scrub” back and forth on the canvas to clear the selection. This will remove the overlap completely.
Adding color variation
Pull a different green color, and switch to the Dark Edge Bleeder brush. Use this to add some variation to the leaves layer, splotching in color. This brush is very pressure sensitive for opacity, so by using light pressure, you can fade out to super soft edges, or use hard pressure to achieve dark, heavily pigmented edges.
With this same brush, select a red, ruddy color and move back down to the apple layer. Use this to dab in a little pigment where the stems connect to the apples, to help give the illusion of indentation.
Touching up with the eraser
Still on the apple layer, we’re going to touch things up a bit. Select the eraser tool, set to the dark edge bleeder brush. With the size set to 7%, erase along the edges of the leaves to create the slightest gap between the leaves and the apples. This will help add to the realism and make the branch pop a bit more.
You can also add in a slight shadow below the apple layer, using a grey blue color and the dark edge bleeder brush - this can make the painting really pop off the page!

start painting now, or pin this project for later!

Get FREE Procreate Resources in Your Inbox:

JOIN THE PACK
When you join, you'll also gain access to dozens of Procreate freebies: brushes, paper textures, workbooks, and color palettes. I send out weekly updates with my best tips and tricks, and you'll be the first to hear when new freebies are released!