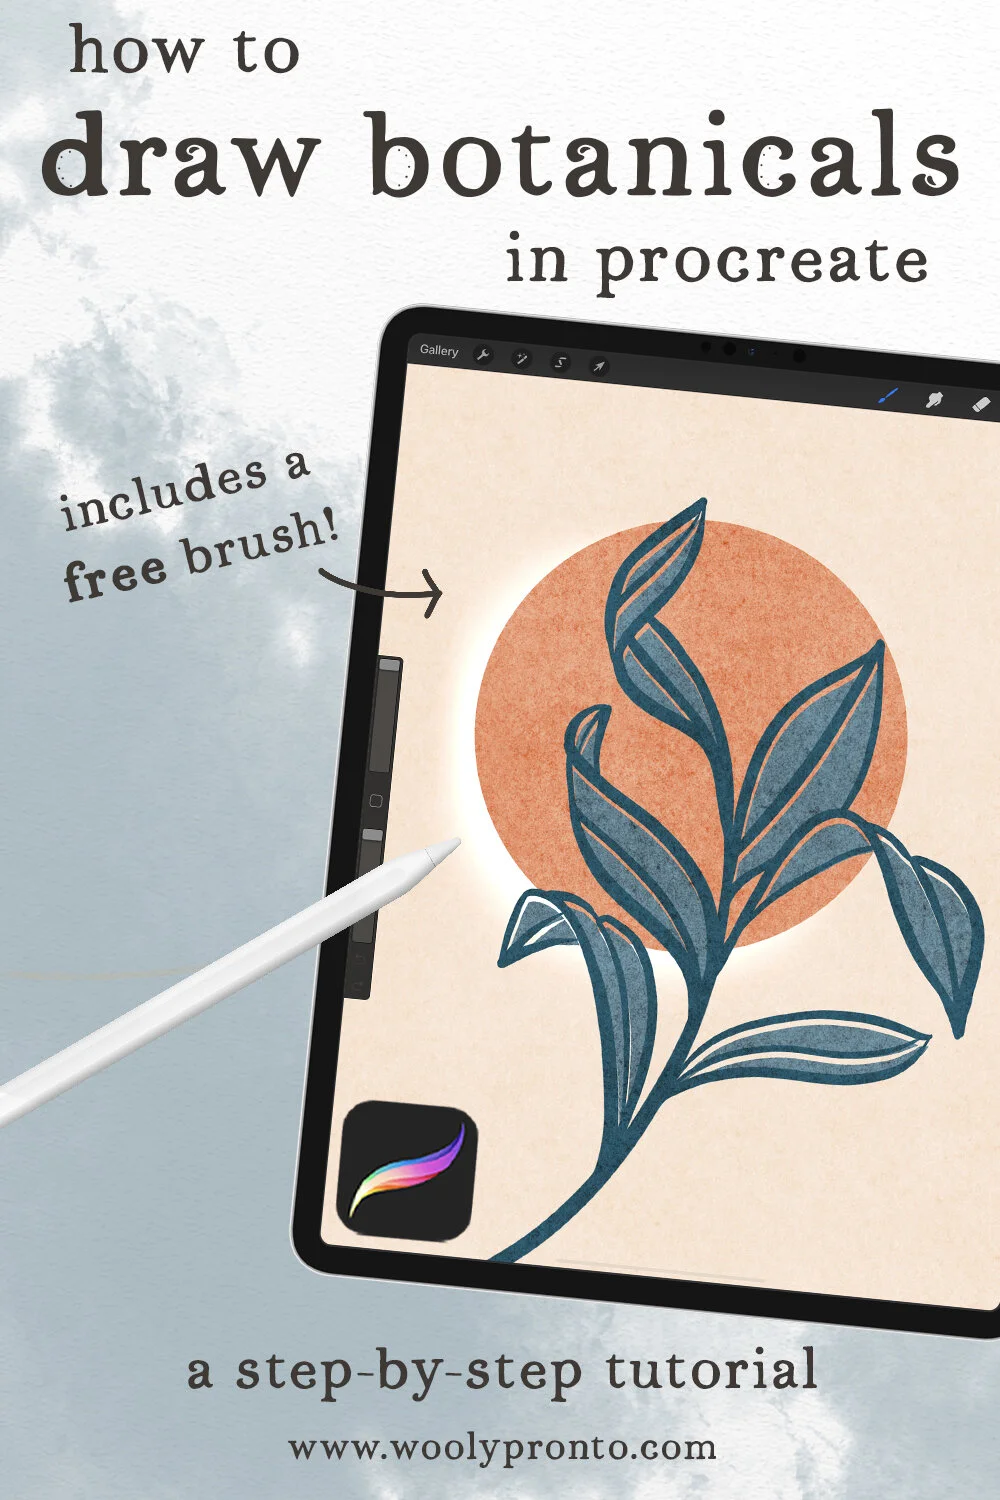
Modern Botanical Art Print Tutorial
This beautiful art print is a must-try. Learn to paint Modern Botanical Art Print in Procreate. Lately, I've been fawning all over these minimalistic wall art prints, so I wanted to try my hand at replicating this look with some botanicals in Procreate. This is totally approachable for Procreate newbies and pros alike - techniques covered include Gaussian Blur, Layer Blend Modes, using Color Drop, and adjusting the Pressure Curve.
This tutorial uses my July color palette, a FREE brush (you can snag it in my Pronto Pack Resources) some default Procreate Brushes, and texture from the awesome Overlay brush pack from Uproot Brushes, which I’ve been using a lot lately and LOVE! The texture is totally optional, you can follow along with or without it! If you want to follow along exactly, here are the steps:
To begin on Canvas:
Start working in a 4000x5000 pixel canvas at 600 DPI and add several layers.
Start by adding a texture overlay.
We’re using a texture from the Uproot Brushes Overlay Brushes Pack, which is a massive pack of a bunch of really cool overlay brushes that use blend modes and dual-color settings to add depth and texture to the canvas.
How to Use the Overlay Brushes:
This brush set has some specific settings we’ll need to use for the colors. In the Color panel, set the primary color to Black and the Secondary Color to White
Then, click back into your primary color (black) to ensure this is what your brush will paint with. Go into the topmost layer. Set the brush opacity to 100% and brush size to 100%
Make sure to keep the blend mode to normal so you can see what it looks like.
Select General Overlay Brush and with one single stroke paint over the entire canvas
Back in the layers panel, change the layer opacity to 85% and set the Blend Mode to Overlay. Because we don’t have anything on the lower layers, you can't see any of the texture yet. But because this is a blend mode, the texture will pass through anything you paint on the layers below.
Add Background Color
Next, change the background color by picking from the July Vibes Palette
Use a cream color, and automatically you can see a very faint texture that shows up through the color in the background.
Orb layers
Pick a Peachy Pink color.
Switch into the Calligraphy Panel and select the Monoline brush.
Draw a circle, hold to allow it to snap into a QuickShape, and without lifting up the pencil, tap finger to the screen to make a perfect circle and then release
Now, tap edit shape and keep it on “circle”, but by tapping outside of the shape, you can move it around and resize it.
Now, use Color Drop to fill this circle.
In the layers panel, select the layer contents of the Orb layer. With this selected, move down to work on the Orb Glow layer. Use a solid white to fill the selection via Color Drop. Then deselect.
In the Adjustments Panel, tap the Gaussian Blur Option and slide the pencil across the screen to adjust this to your desired amount of blur.
Switch the layer blend mode to Add, and reduce the layer opacity of the Glow Layer. Then use the Transform arrow to shift the position of this layer slightly. It should look like an eclipse.
Sketch out a branch and some leaves
Next in the Inking panel, select the Dry Ink Brush.
Use a Dark Gray color, moving onto the sketch layer.
Sketch out a branch and some leaves.
Now, reduce the opacity to about 50% and then move to work on the Greenery Layer.
Greenery Layer
Select a Teal color.
In the Calligraphy Panel, pick the Script Brush. Set the size at about 25%.
Use your sketch as a guide to draw in your final linework. Now delete the sketch layer.
Add in a new layer below the layer with your linework. Set the Greenery layer as a Reference. This will allow you to fill in the leaves on the layer below, even though we haven’t drawn any shapes in that layer.
Fill the leaves with a Mid-Teal Bluish color using Color Drop.
Tap the Adjustments arrow and move it slightly, to give it an off-register look.
Detail lines on Leaves
Go into the Needle Layer to add some detail lines on the leaves.
Use the same brush (The Script Brush)
You can also use the Needle Brush, which is available for free in the Resource Library.
Set the brush size to about 20%.
Now starting at the center of each leaf, use more pressure at the start of the stroke and then work your way out to the sides.
Lift up the brush strokes slightly to get a series of dots. Don't be too concerned about matching all the strokes perfectly - just try to consistently space the lines out.
That's it! You’ve successfully created a modern botanical art piece.
Get the Overlay Brush Pack from Uproot Brushes here - use my affiliate link and take 10% off at checkout with code WOOLY10:

Want to bookmark the blog for another read? Pin it now!
Get the color palette from this video!

JOIN THE PACK
When you join, you'll gain access to dozens of Procreate freebies: brushes, paper textures, workbooks, and color palettes. I send out weekly updates with my best tips and tricks, and you'll be the first to hear when new freebies are released!